SolStock/Getty Images
You’re no Bob Vila, but part of being a homeowner or renter is knowing how to tackle common home repair projects on your own. We’re talking about tasks that fall somewhere between changing a lightbulb and hardwiring a light fixture. These projects aren’t exactly no-brainers, but they also won’t put you at risk of electrocution.
But in the age of COVID-19, perhaps the biggest reason to improve your DIY skills is to reduce the number of folks who enter your home—and that includes repairmen and maintenance workers. So if you can master basic home repair skills, you can be self-reliant and stay safe.
“There is never a bad time to improve DIY skills, but keep in mind that projects can range in difficulty,” says Hunter Macfarlane, a project expert at Lowe’s. “Before starting any project, be sure to look through all of the instructions and ensure you have the tools you need.”
Don’t take a hammer to the wall just yet. Strap on your tool belt, and start out with these no-nonsense DIY home repairs.
Patch a hole with spackle
Hanging a picture can be an exercise in trial and error that often yields unwanted holes in your drywall. Clean up those holes by patching them with spackle.
“It can be completed within minutes—all you’ll need is spackle and a taping knife,” says Macfarlane. “Once you scrape away loose debris, cover the hole with fast-drying spackle and leave it to dry 24 hours.”
For holes larger than a typical nail hole, use a mesh patch to level the surface and evenly apply spackle. You can also use sanding sheets to smooth the area when you’re finished.
Replace a thermostat

“Every 10 to 15 years, old thermostats might need to be replaced with a more upgraded model, like a smart thermostat,” says Marla Mock, vice president of operations at Aire Serv. “A smart, programmable thermostat with Wi-Fi can allow you to create a schedule to adjust temperatures, saving you the expense of heating and cooling an empty home.”
Just how much can you expect to save? Mock says 10% to 20% annually on heating and cooling bills.
Installing a thermostat requires general tools such as a screwdriver, wood or drywall screws, masking tape, and power drill, as well as a basic knowledge of carpentry.
To begin, turn off the power to your heating, ventilating, and air-conditioning system, carefully remove the existing thermostat from the wall, disconnect the wires from the back of the thermostat, and carefully label which wire is which.
“Connect the new thermostat to the wires protruding from the wall. Mount the thermostat to the wall using the included hardware. Power on your new thermostat, and set accordingly,” Mock says.
Repair tile grout
Tile grout is porous and can allow dirt, moisture, and other particles to get trapped, causing discoloration or mold, says Macfarlane. Luckily, repairing tile grout is easy and inexpensive and can give bathroom or kitchen tile a fresh look.
“Start by cleaning the broken grout area with a 1:1 mixture of vinegar and water, then use a grout saw to remove loose or damaged grout,” says Macfarlane. “Remove any debris from between the lines, then dampen the tile and wipe up any excess water.”
Use a grout float, held at an angle, to fill the joints with new grout. Let the grout set firmly, and remove any excess with a damp sponge. After the grout dries completely, apply a sealant to protect it from future cracking and mold.
Paint a wall

Photo by Alder and Tweed Design Co.
Ready to switch it up? If your walls are in dire need of a fresh coat of paint, this is a simple project that can be tackled in a weekend.
Macfarlane says prep work is needed to keep the space clean and the finishing looking fresh.
“Use a plastic dropcloth or an old sheet to protect furniture, and don’t forget to grab painter’s tape to cover door handles and electrical outlets,” says Macfarlane. “You’ll also need a few 5-gallon buckets for your paint, as well as rollers, trays, and angled brushes.”
He says DIYers can use Lowe’s online paint calculator to get the right amount of paint and stay within budget.
Spot-treat your carpet
Being indoors so much means your carpet has seen better days, so a good DIY carpet clean is in order.
“Make a detergent solution by mixing one teaspoonful of a colorless, mild detergent or dishwashing liquid in a cup of lukewarm water,” says Jack White, director of special projects at Rainbow International Restoration.
Blot the mixture into the carpet, and avoid rubbing the stained area since it can drive the stain deeper and possibly damage your carpet. White cautions not to soak or overwet the area.
Rinse with water, and blot until dry with a white cotton towel. If the stain remains, you can attempt to remove it with a 3% hydrogen peroxide solution.
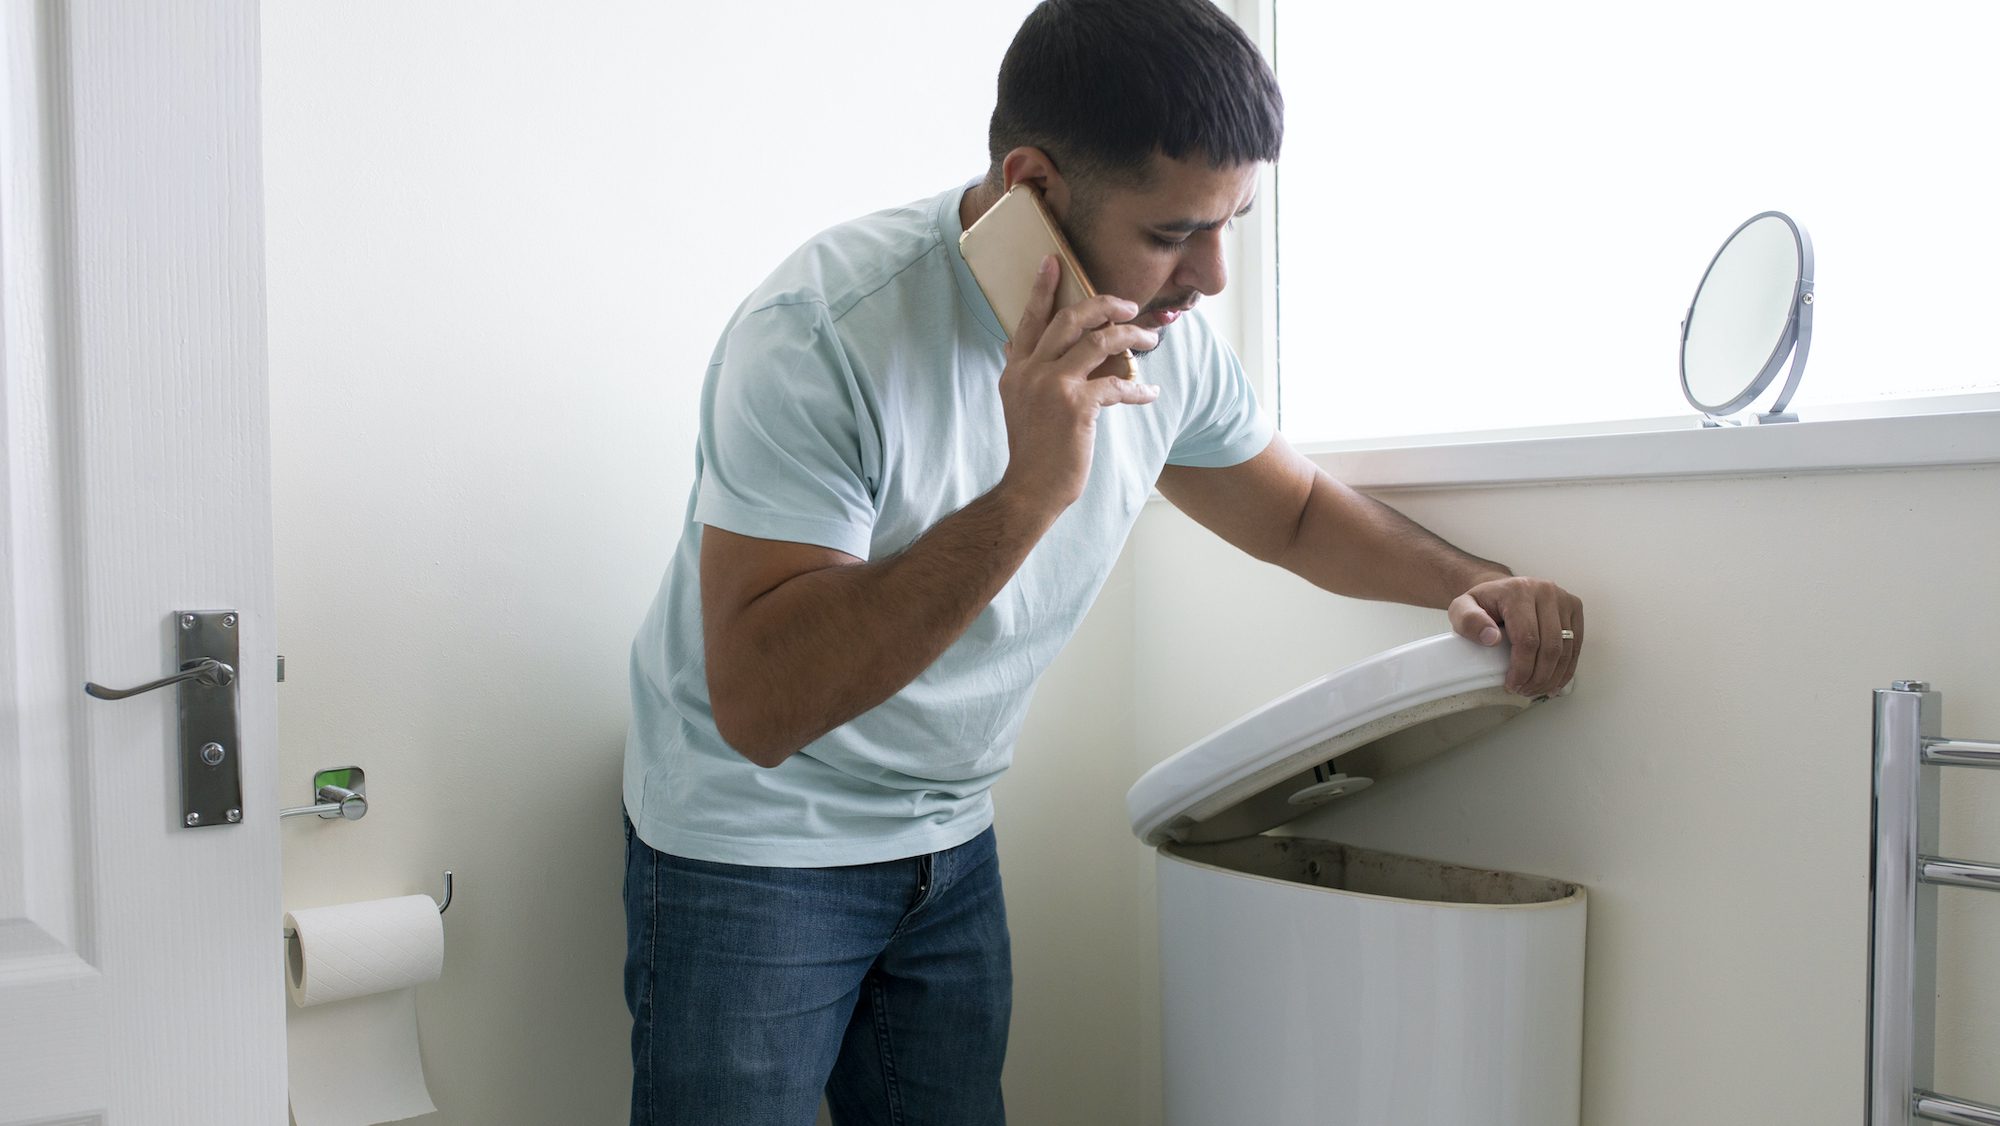
Replace a toilet flapper
A likely culprit for a toilet that won’t stop running is a faulty flapper—a small piece of rubber that acts as a stopper, separating the tank from the bowl, says Aaron Mulder, co-owner and operations manager for Mr. Rooter Plumbing of San Antonio, TX.
“A good way to test for a leaking flapper is to add a few drops of food coloring to the top of the tank where the flapper and flush valve are. Check to see if the water inside the bowl is turning the color of the food coloring you added. If it is, you know you have a leaking/passing flapper,” says Mulder.
He says replacing a toilet flapper is simple and inexpensive for a homeowner to do, and that flappers need to be replaced every two to three years.
First, turn off the water supply behind the toilet, remove the lid from the tank, and then flush the toilet to drain the tank. Remove the old flapper from inside the tank. Then, place the new flapper in the tank and attach the new flapper’s chain to the trip lever, making sure to leave enough slack so that the flapper can fully close, covering the flush valve seat. Turn the toilet’s water supply back on, and do a test flush. If it’s silent after the tank refills, that means it worked.
The post DIY Home Repairs Everyone Should Know How To Do in the Age of COVID-19 appeared first on Real Estate News & Insights | realtor.com®.
Major repairs such as panel and door spring replacements will usually call for the help of expert technicians. top rated garage door company
ReplyDeleteThanks for the blog loaded with so many information. Stopping by your blog helped me to get what I was looking for.Garage Door Service
ReplyDeleteI am definitely enjoying your website. You definitely have some great insight and great stories.Garage Door Repair Near MeEmergency Garage Door Repair
ReplyDeleteWe fix appliances quickly and affordably. Enjoy our low rate appliance repair services for GE fridge repair, Samsung dryer repair, LG appliance repair, Whirlpool fridge repair Kitchenaid appliance repair, Samsung fridge repair and any other appliance repair in Ottawa and the surrounding areas. Are you looking for a quick washing machine repair service or stove repair service in Rockland, Cumberland, Kanata, Gloucester, Nepean, Barrhaven or anywhere else in the Ottawa region? Rest assured our appliance repair technicians service and fix all household appliances. Call 613-606-6038 to speak with an appliance repair specialist. ge fridge repair
ReplyDelete