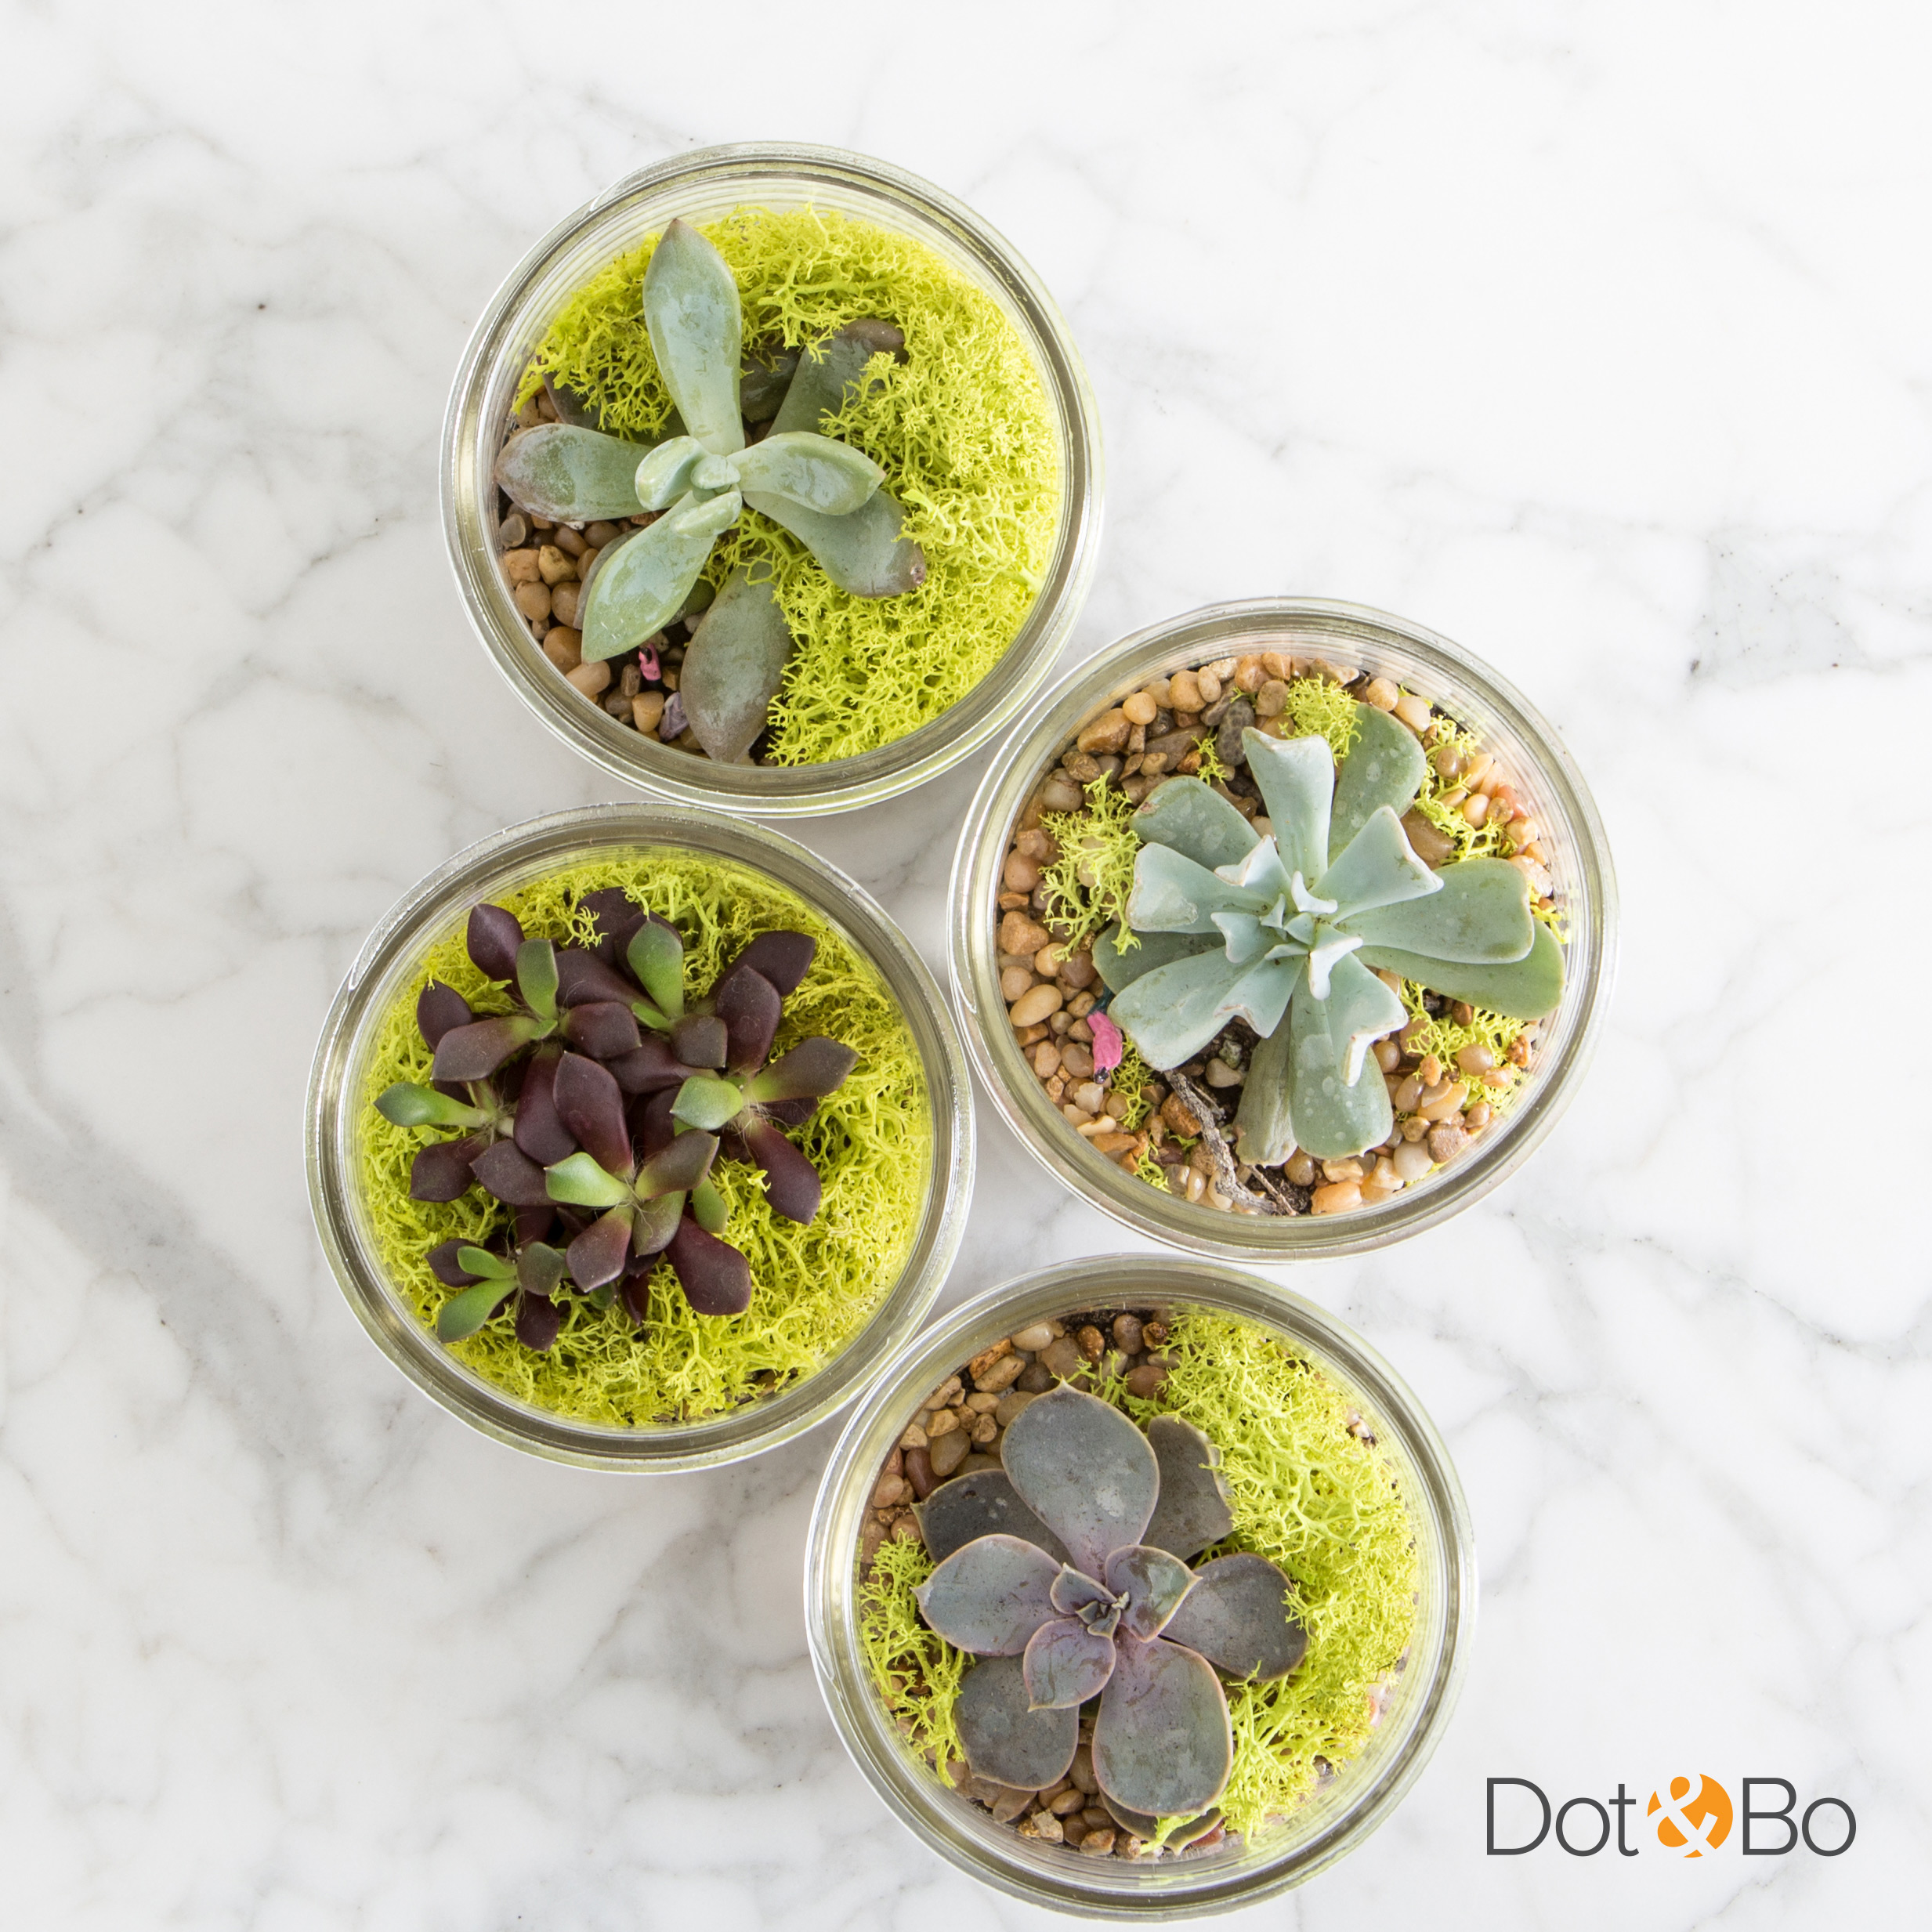
Whether you forage or not, the trend of bringing nature and plants into the home is something you probably want to consider - and terrariums are a great way to do this.
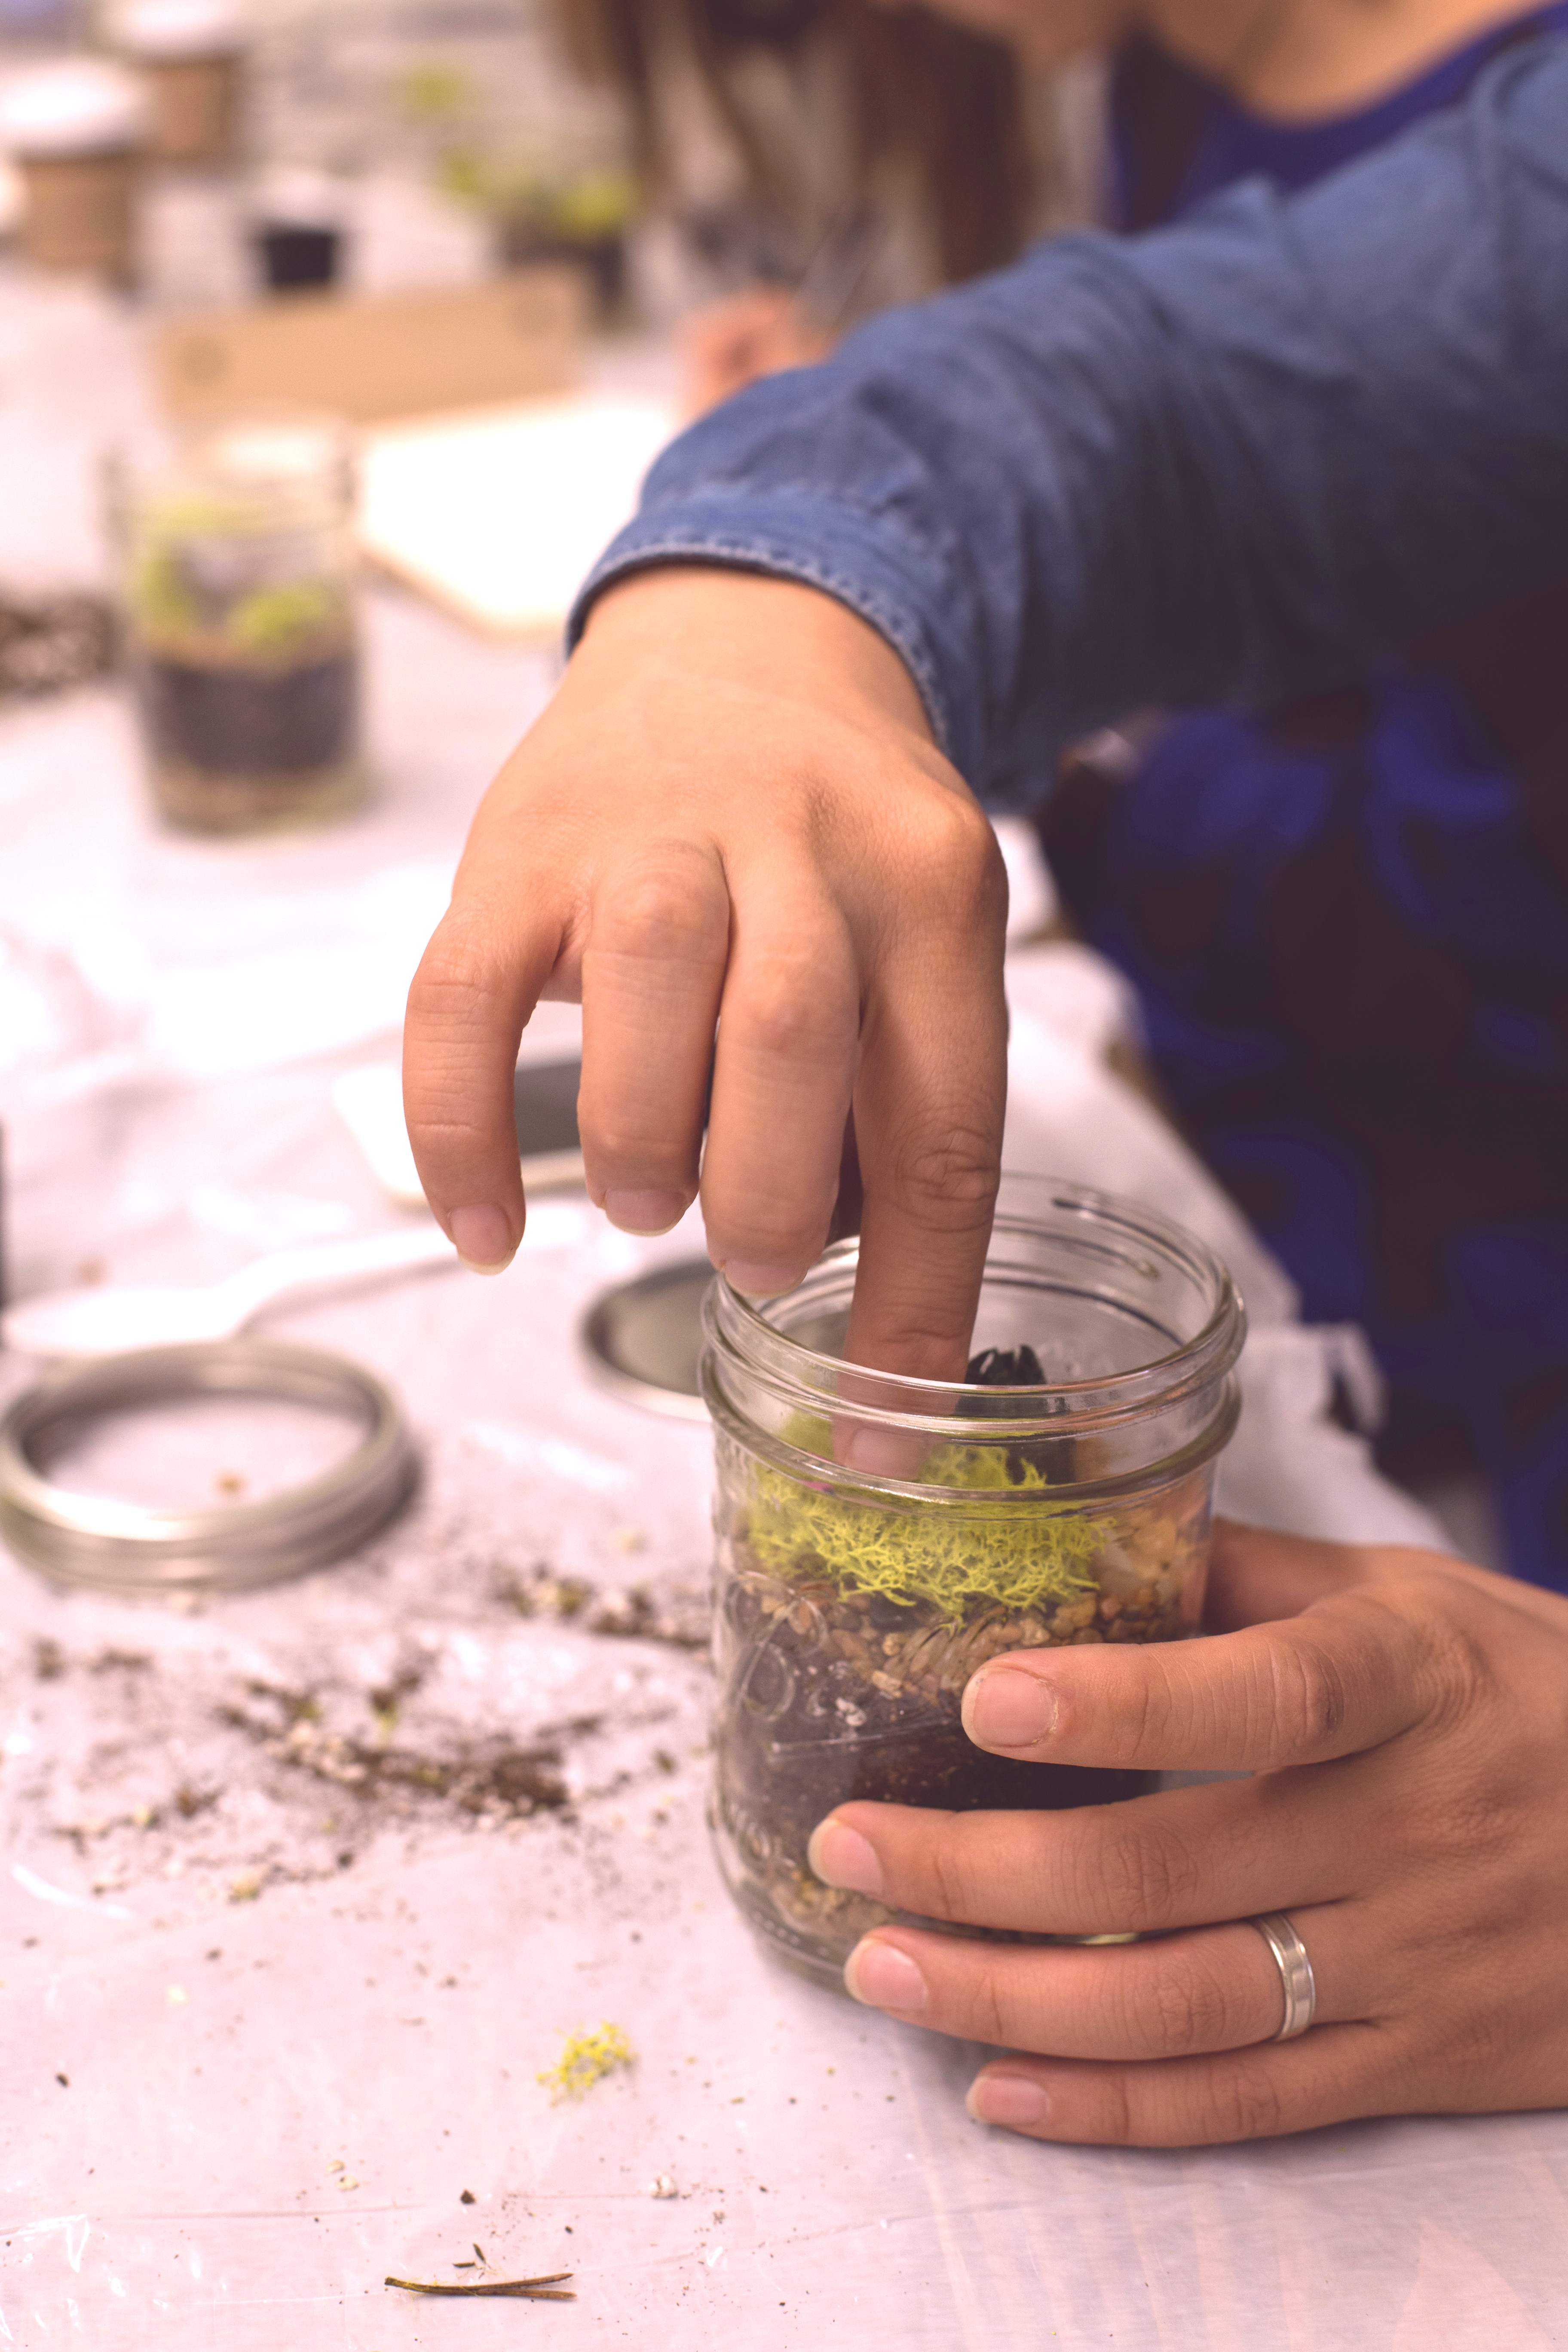
A couple members of the Dot & Bo team happen to have green thumbs, and recently led a class teaching us how to create our very own succulent terrariums. Follow along for an easy DIY guide to mason jar gardens!
Supply List:
- Mason Jar
- Succulent
- Soil
- Small pebbles (similar to the size used in fish tanks)
- Mountain Moss
- Reindeer Moss (we love the vibrant green hues!)
- Accessories (we chose miniature figurines of people)
Once you have all your materials, you're ready to start building your terrarium!
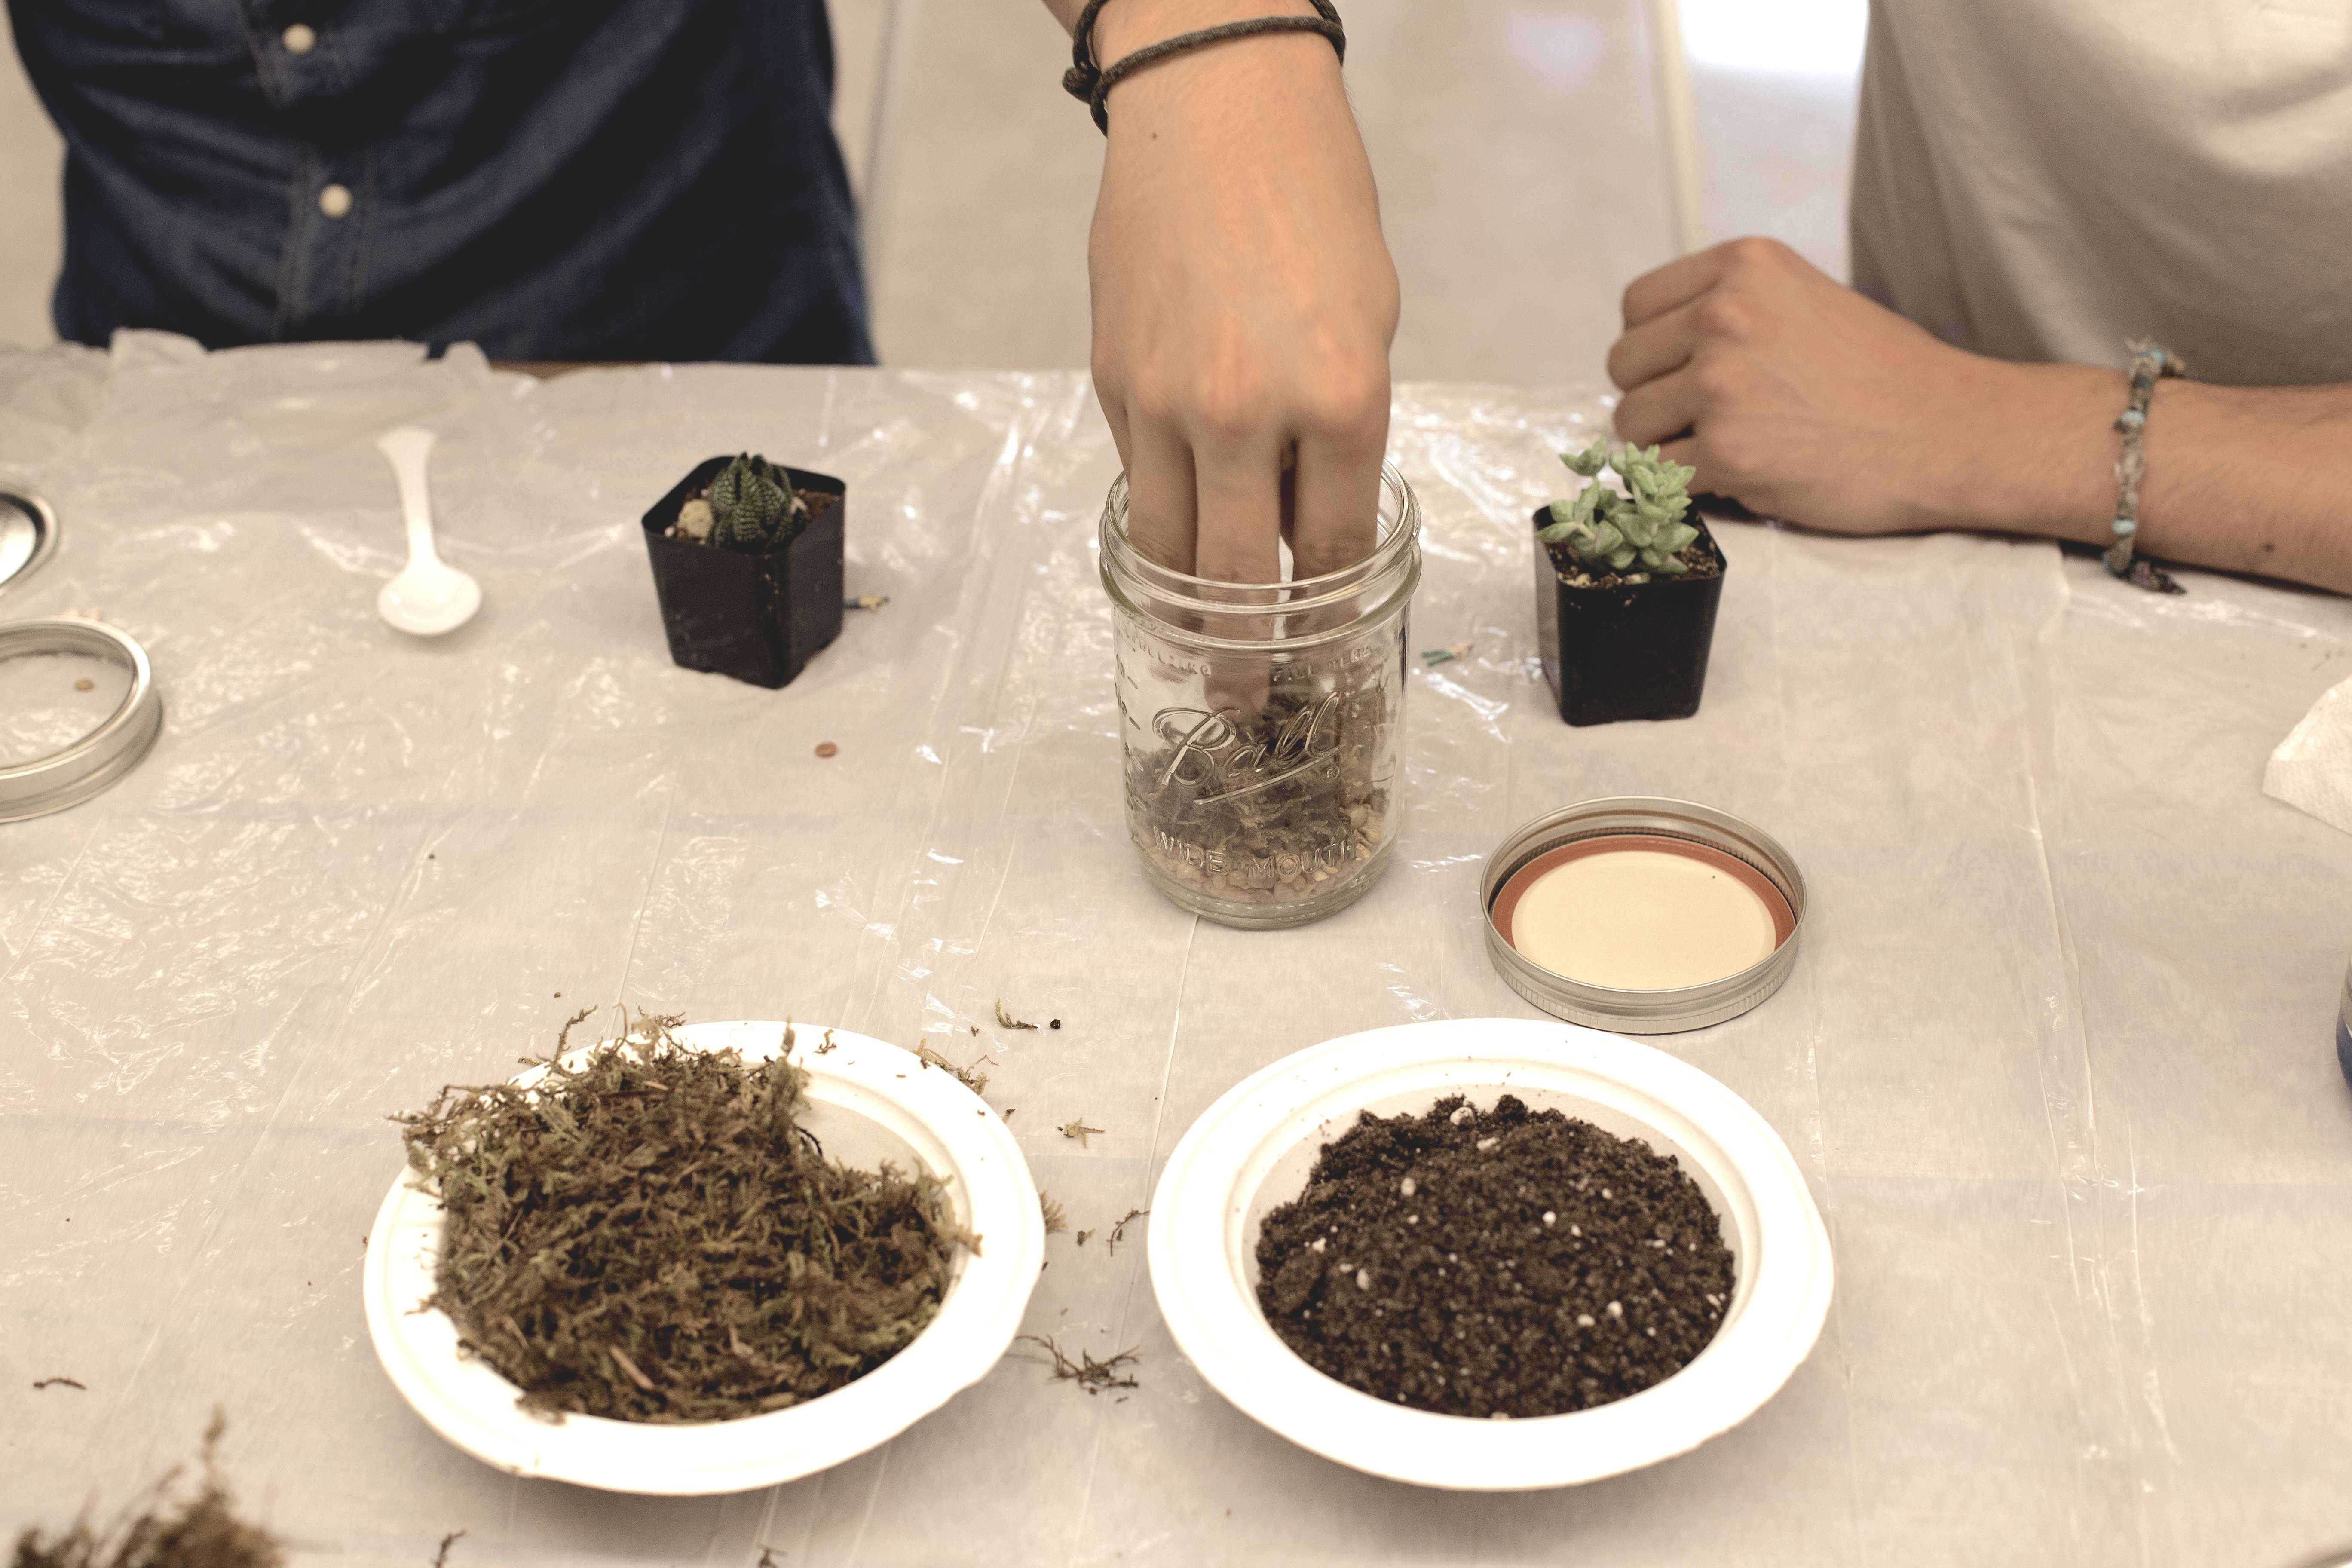
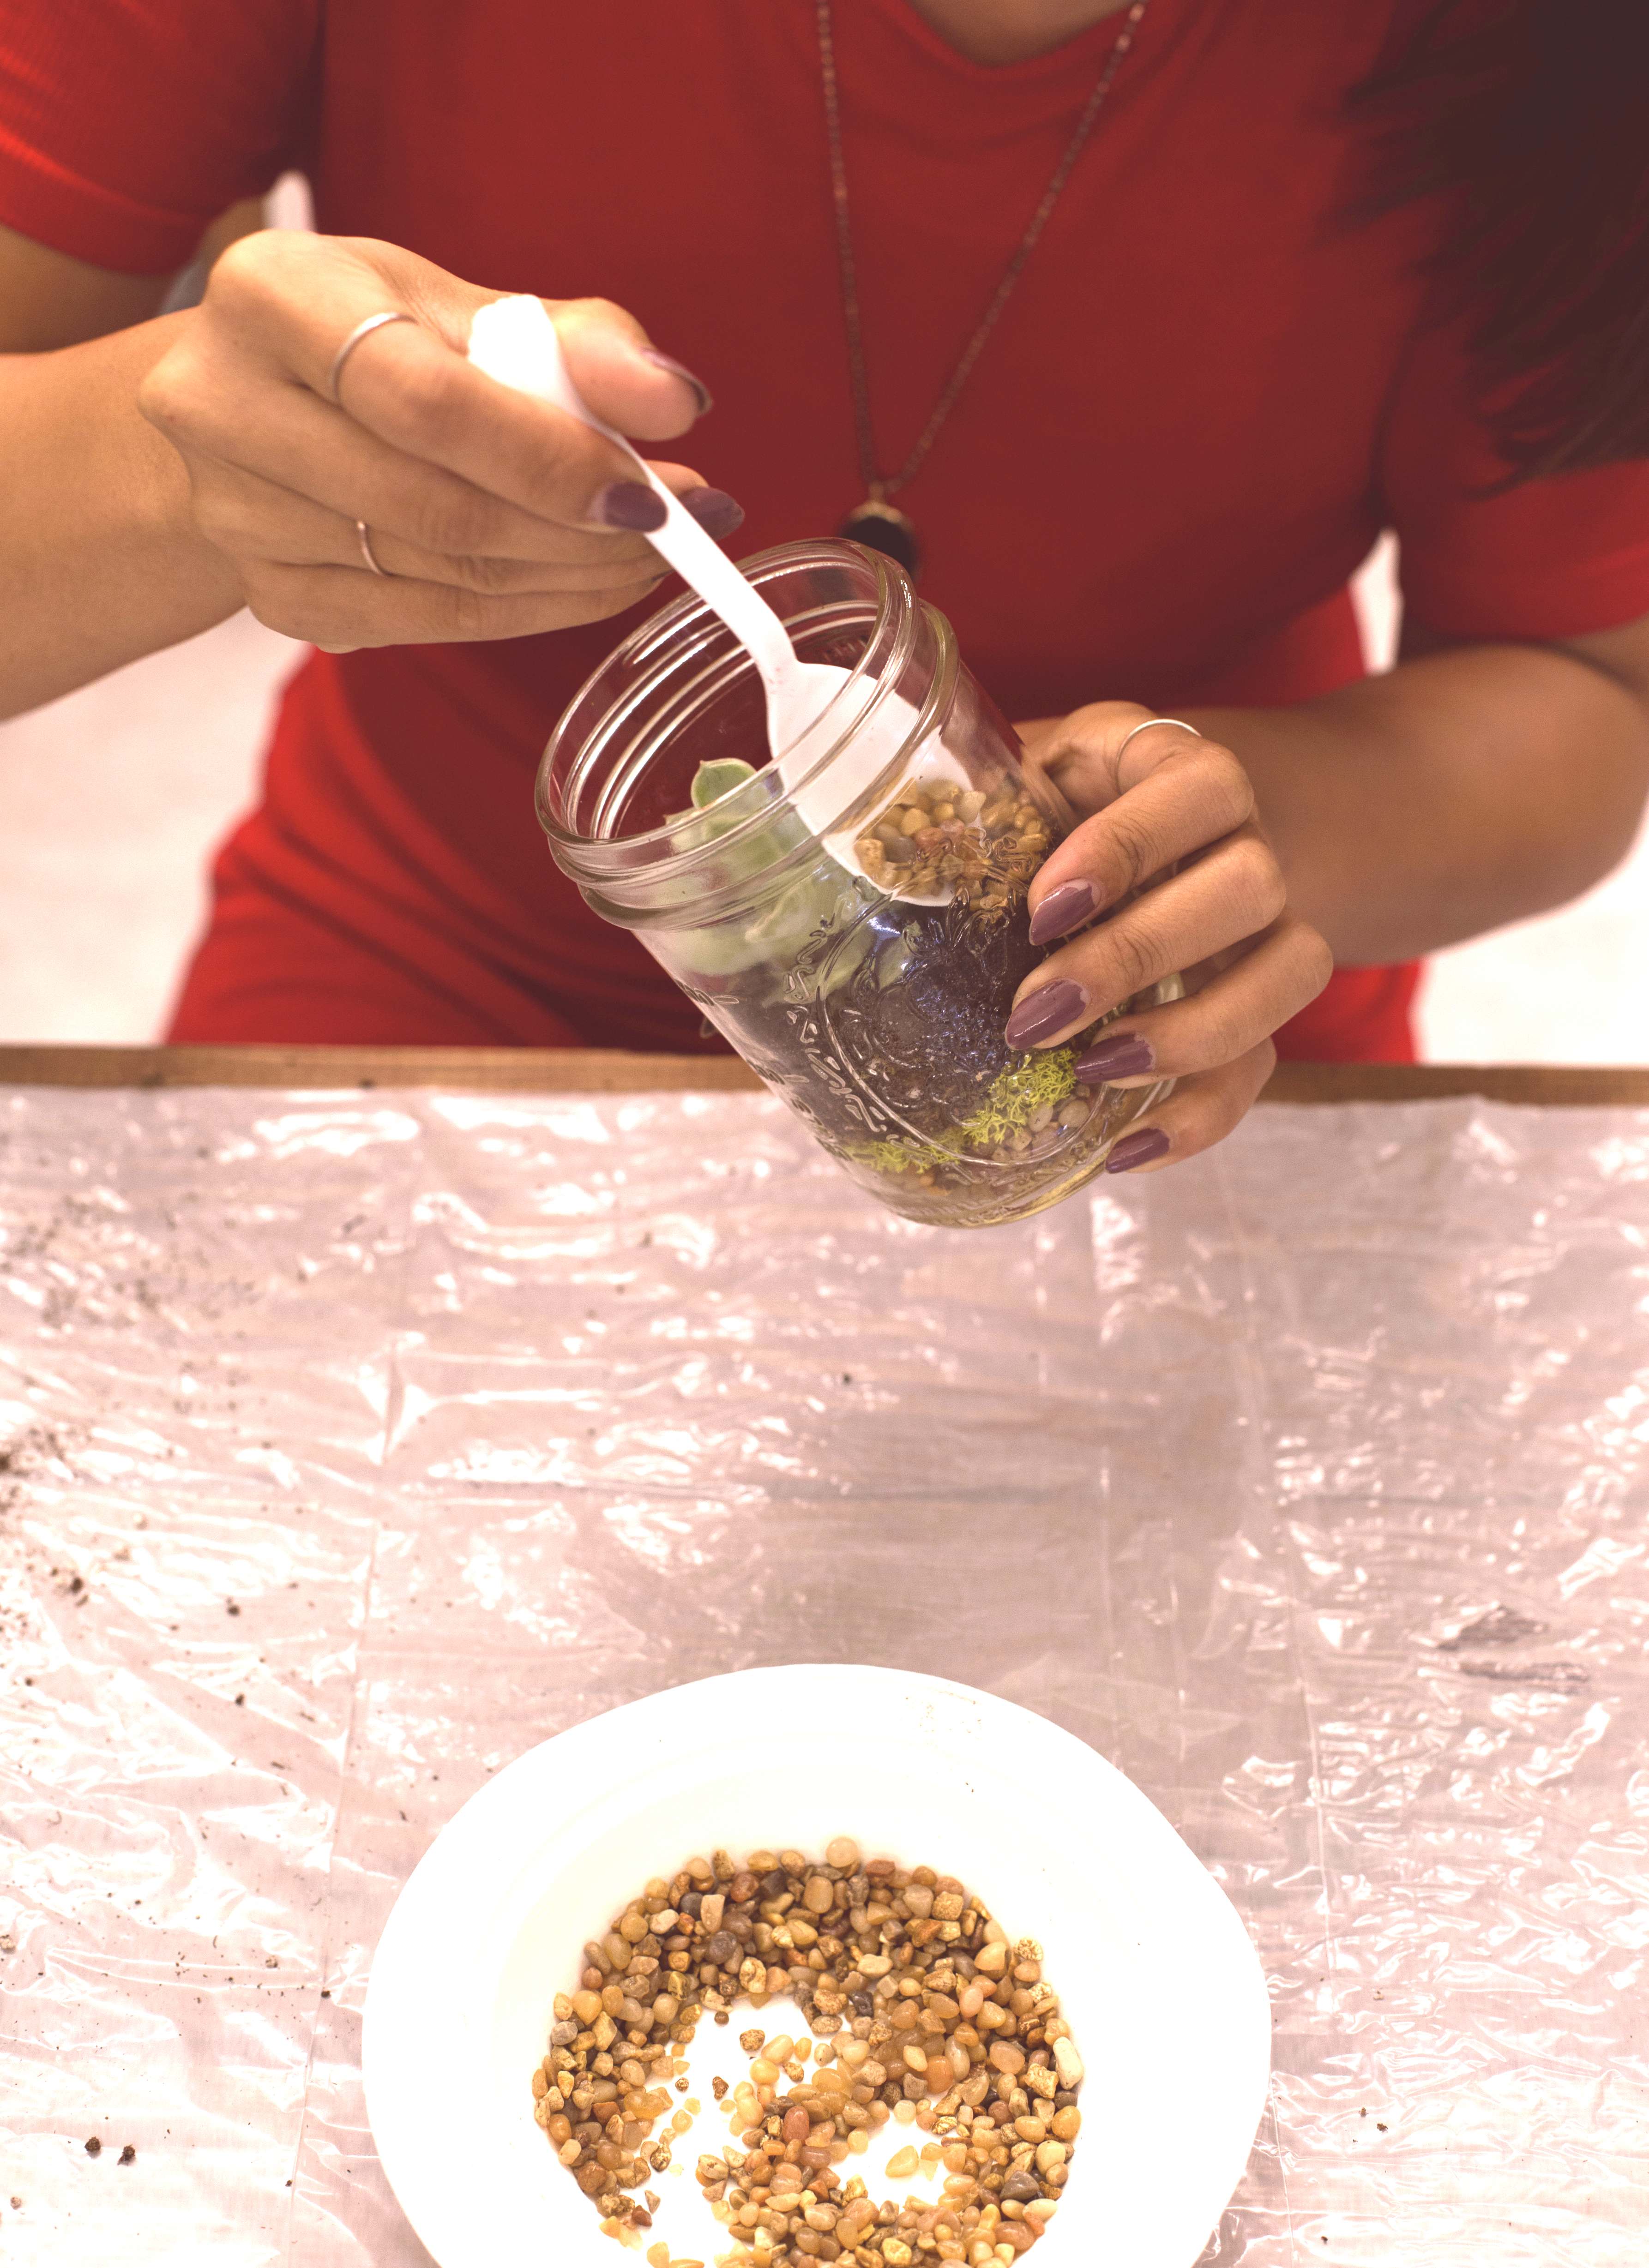
Step 1: Start by putting half an inch of pebbles into your mason jar. Pebbles are extremely important and will act as a reservoir, catching the water you use to nourish your succulent.

Step 2: Grab a small handful of mountain moss and place it on top of the pebbles. This moss will also help with drainage and will keep your plant from getting over watered.
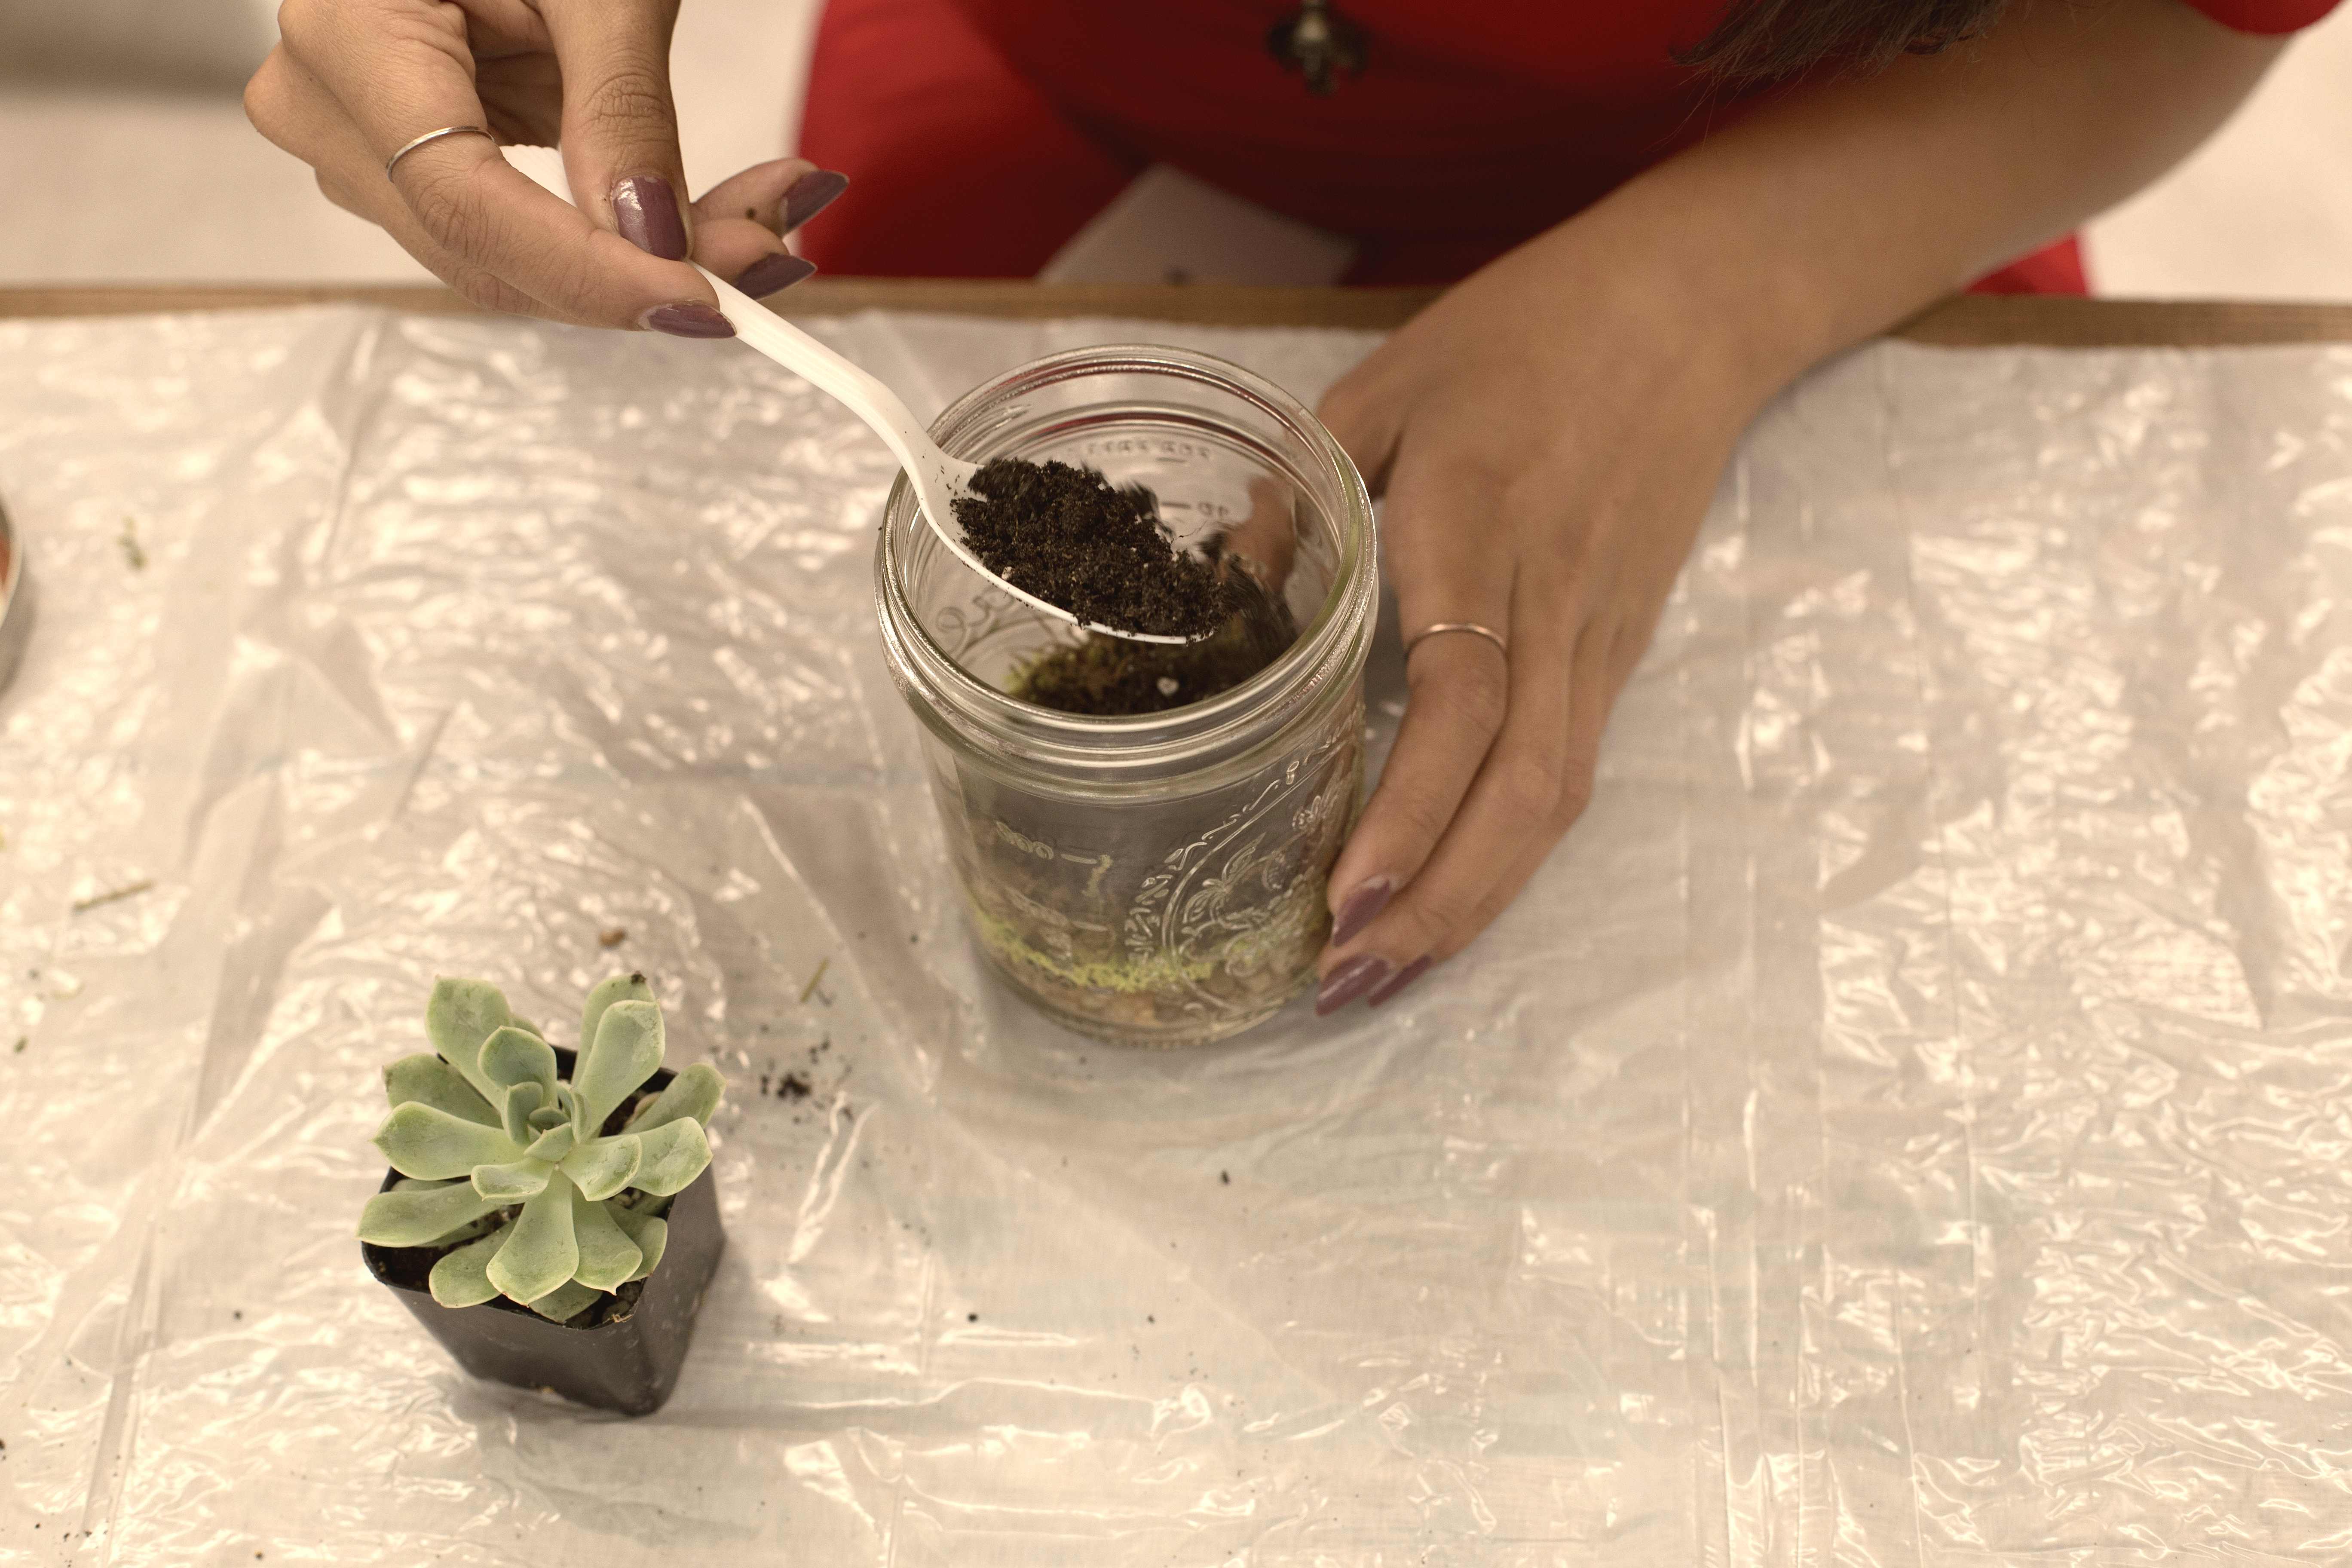
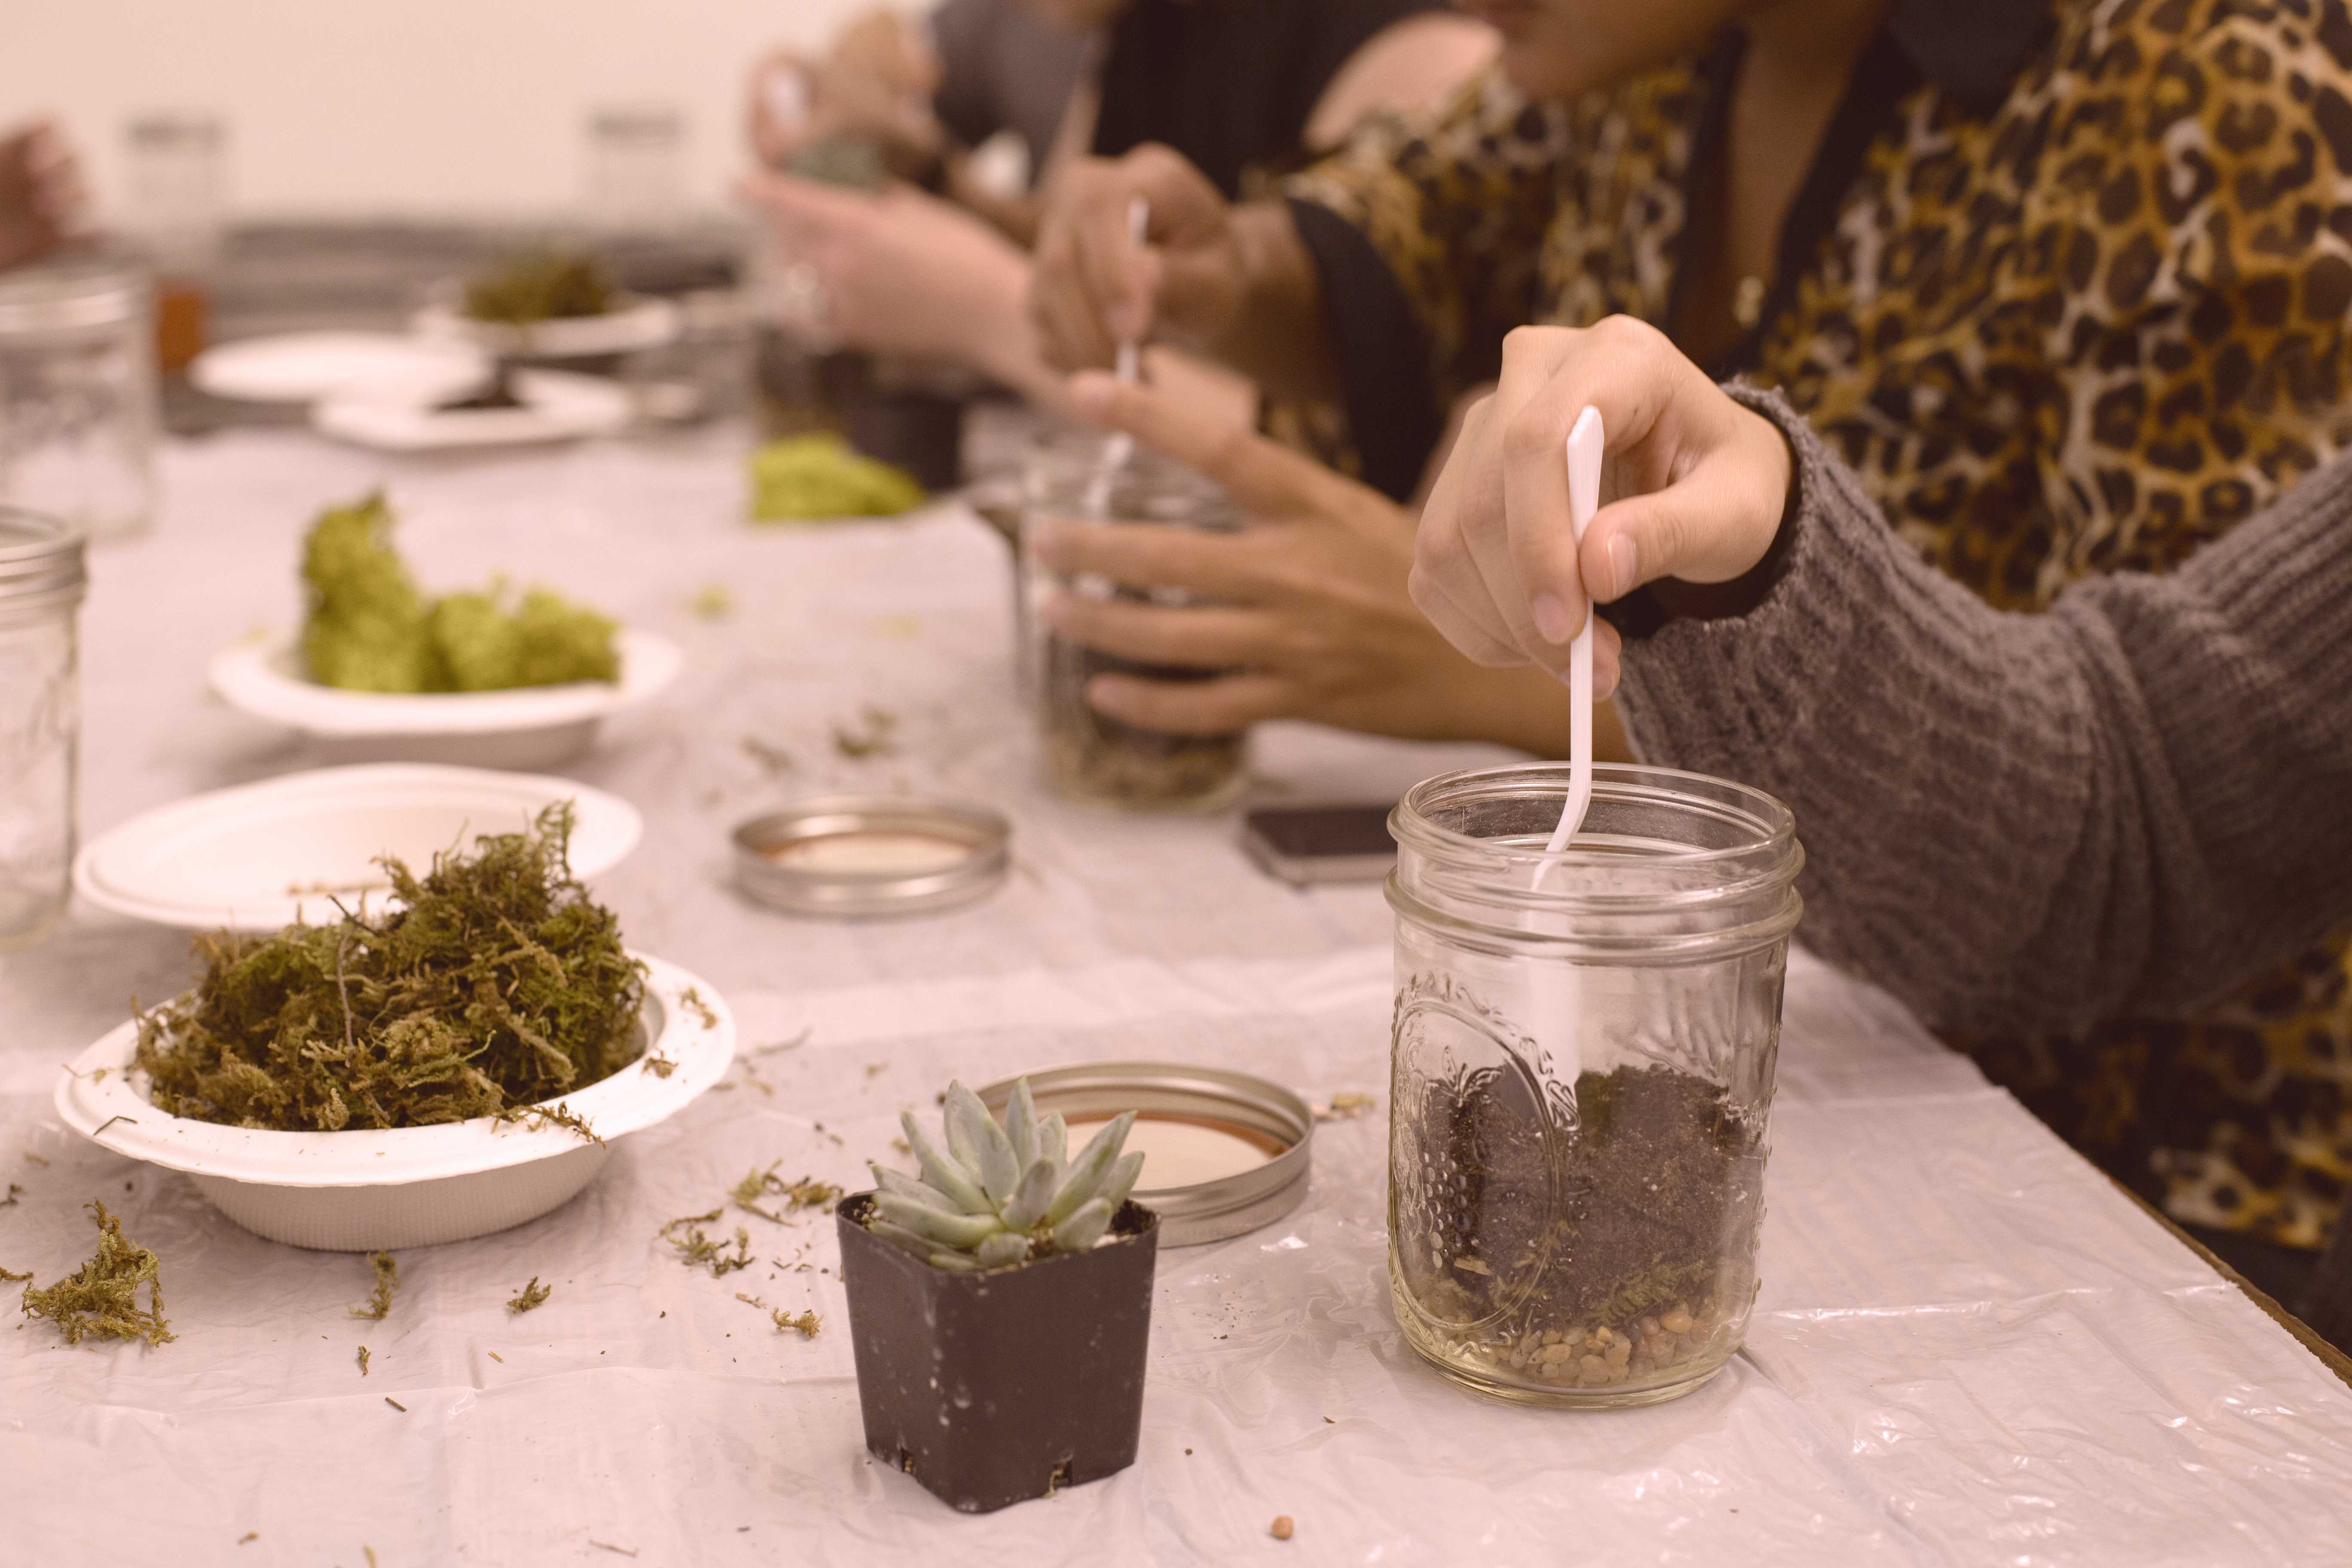
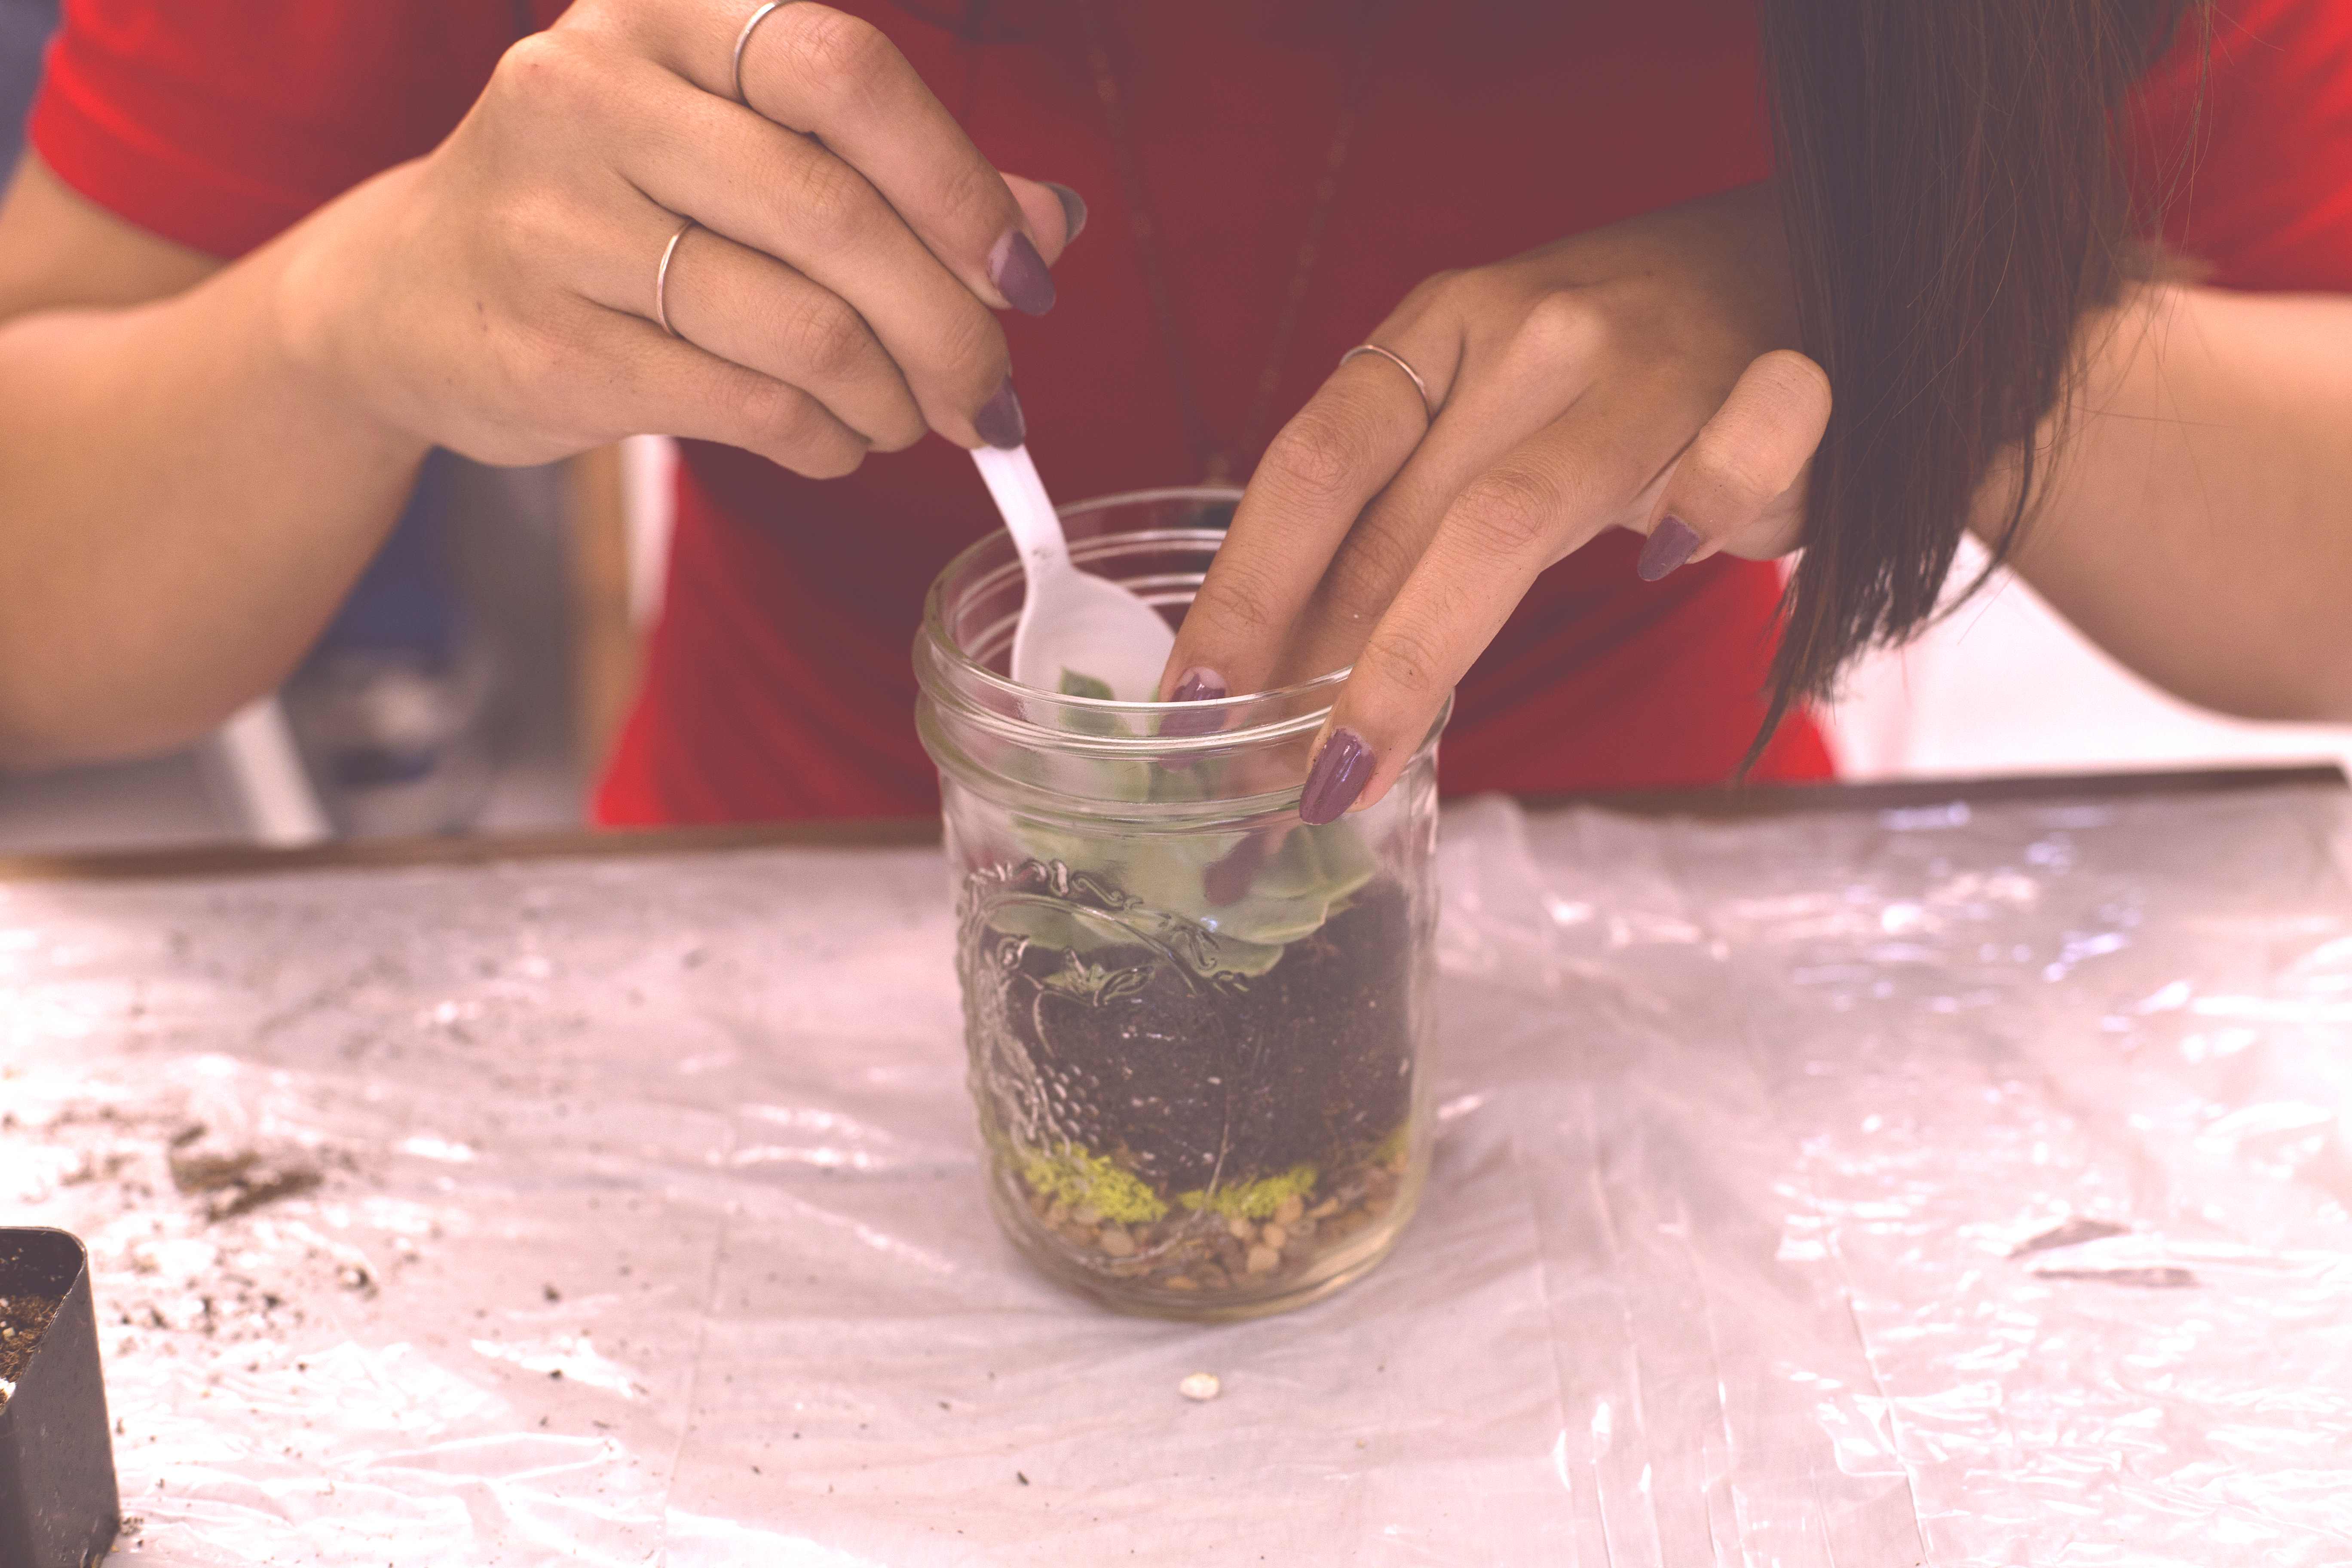
Step 3: Layer 3-4 big spoonfuls of soil on top of the moss. You need enough of a layer to give your succulent something to put its roots into, but not too much because that will counteract the work of the mountain moss and pebbles.
Step 4: Burrow a shallow hole in the soil where you will place your succulent.
Step 5: Remove your succulent from its planter. Then, very gently, break away the soil around its roots.
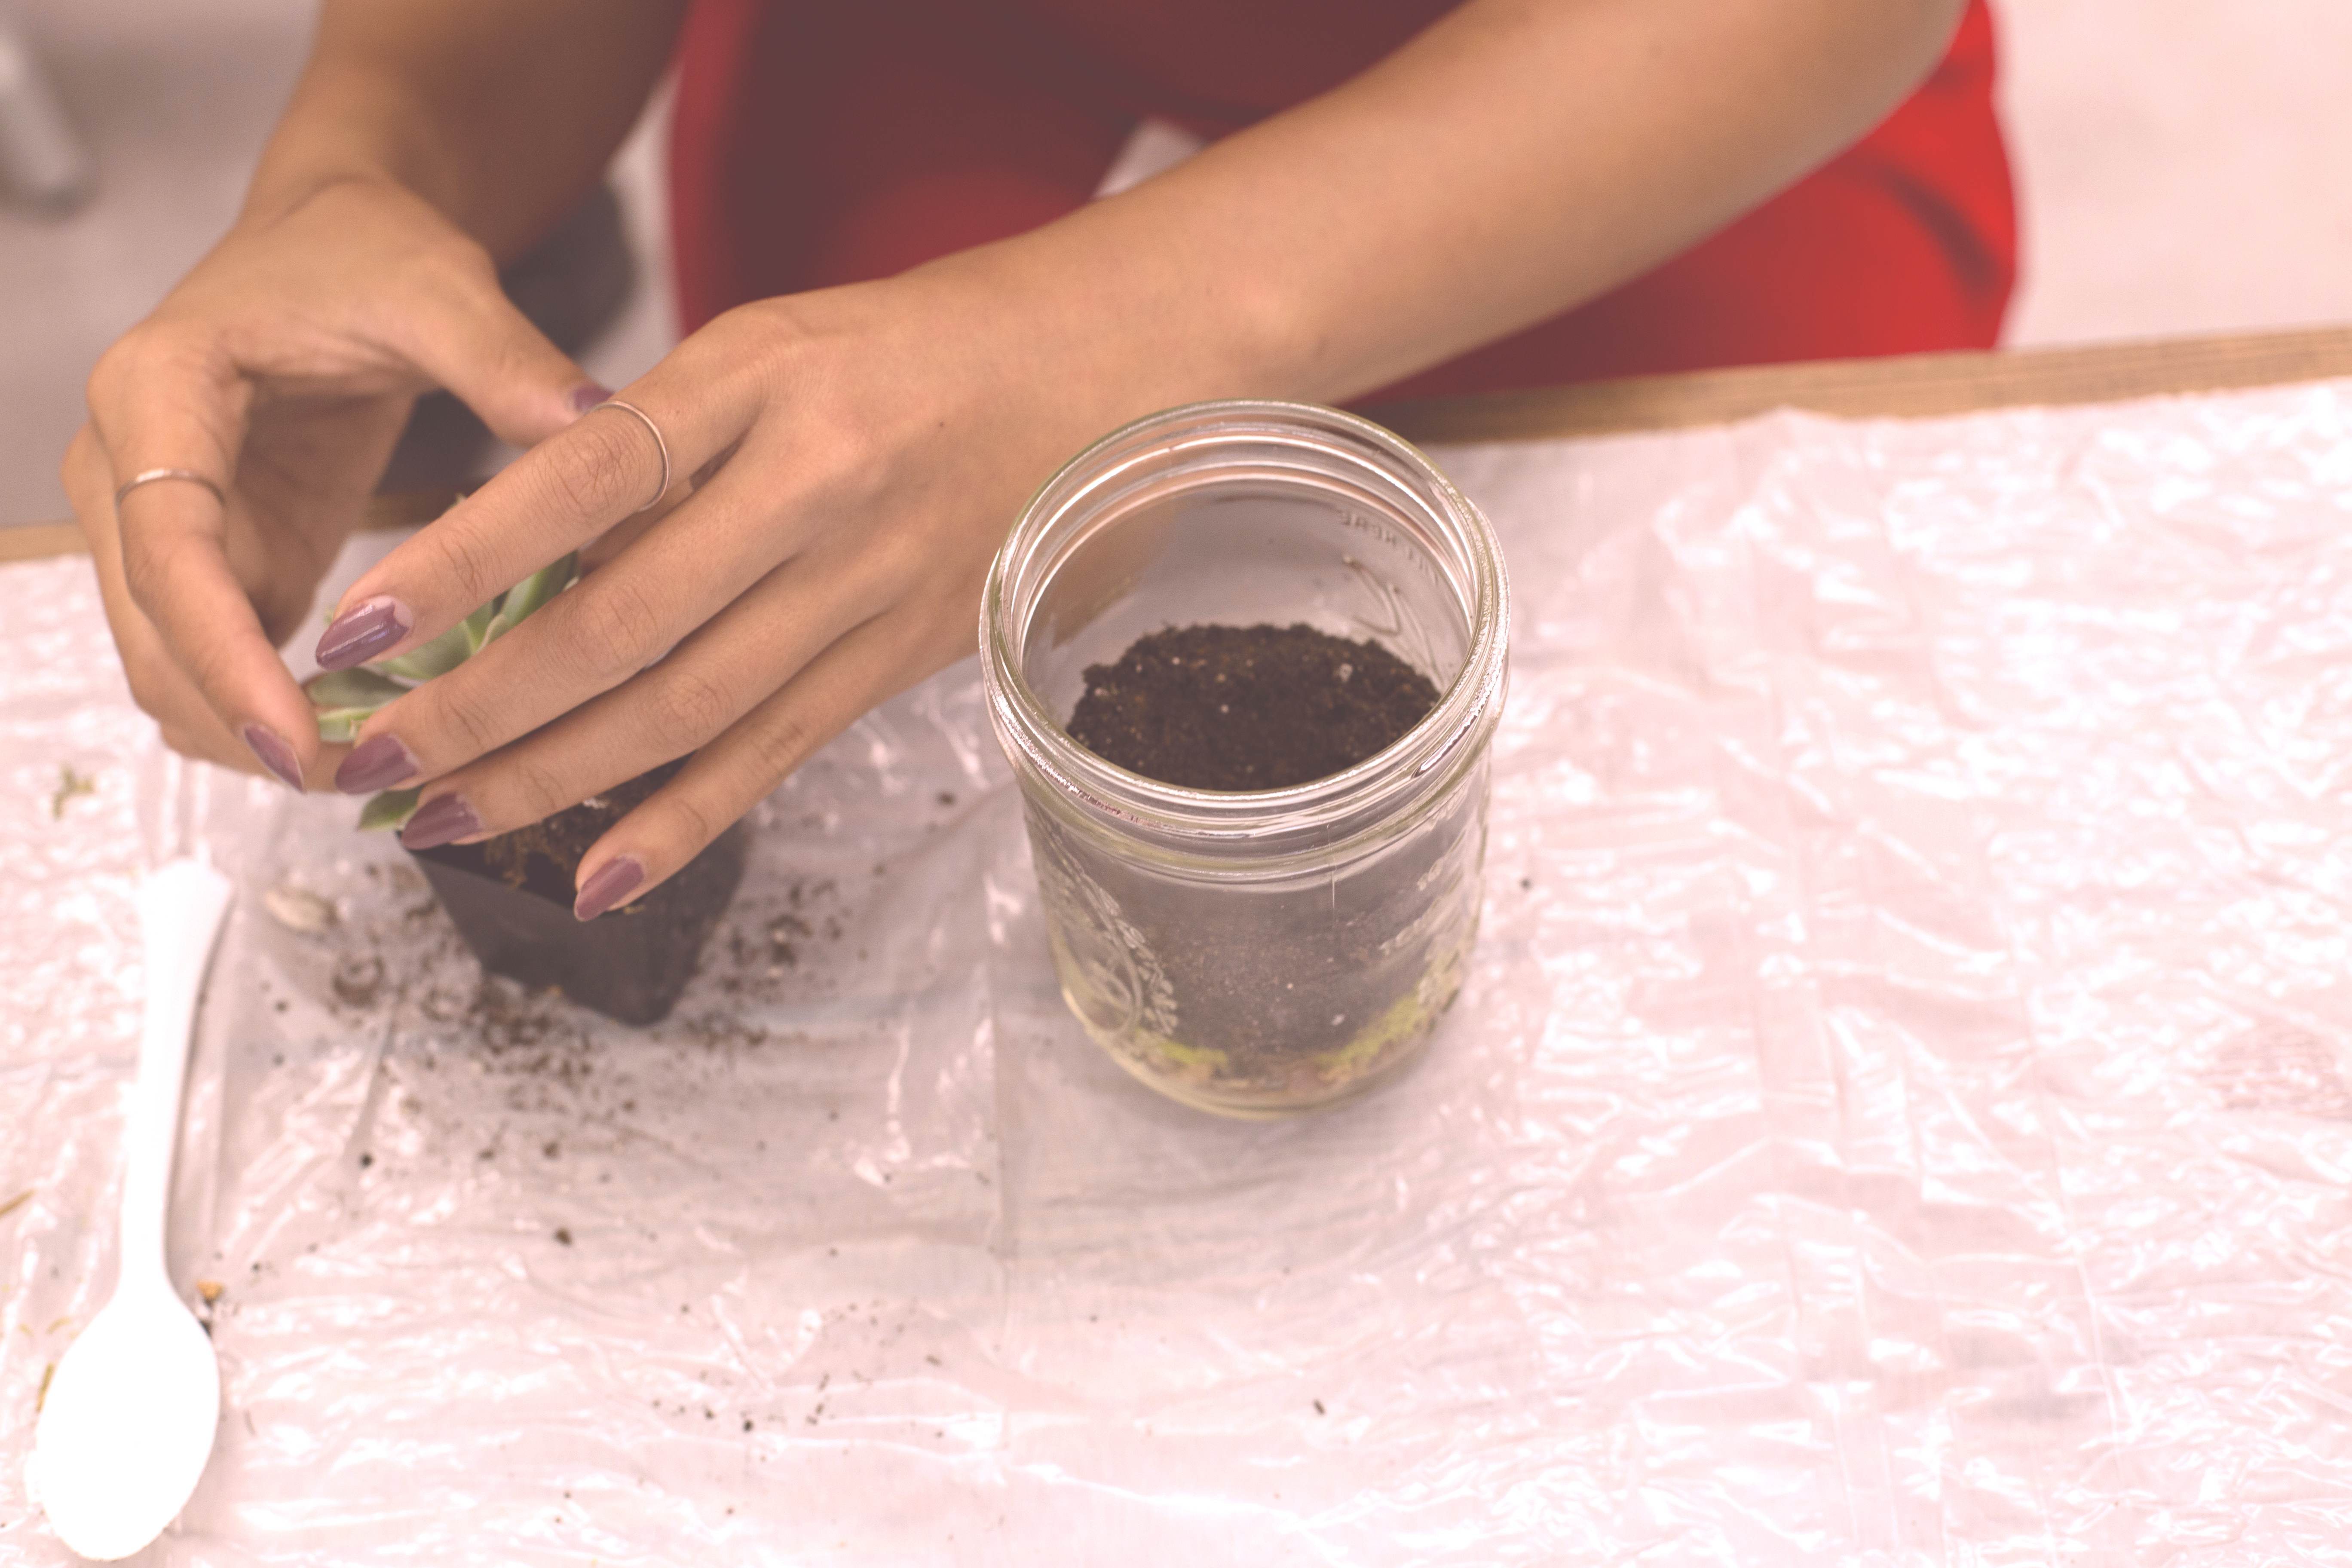
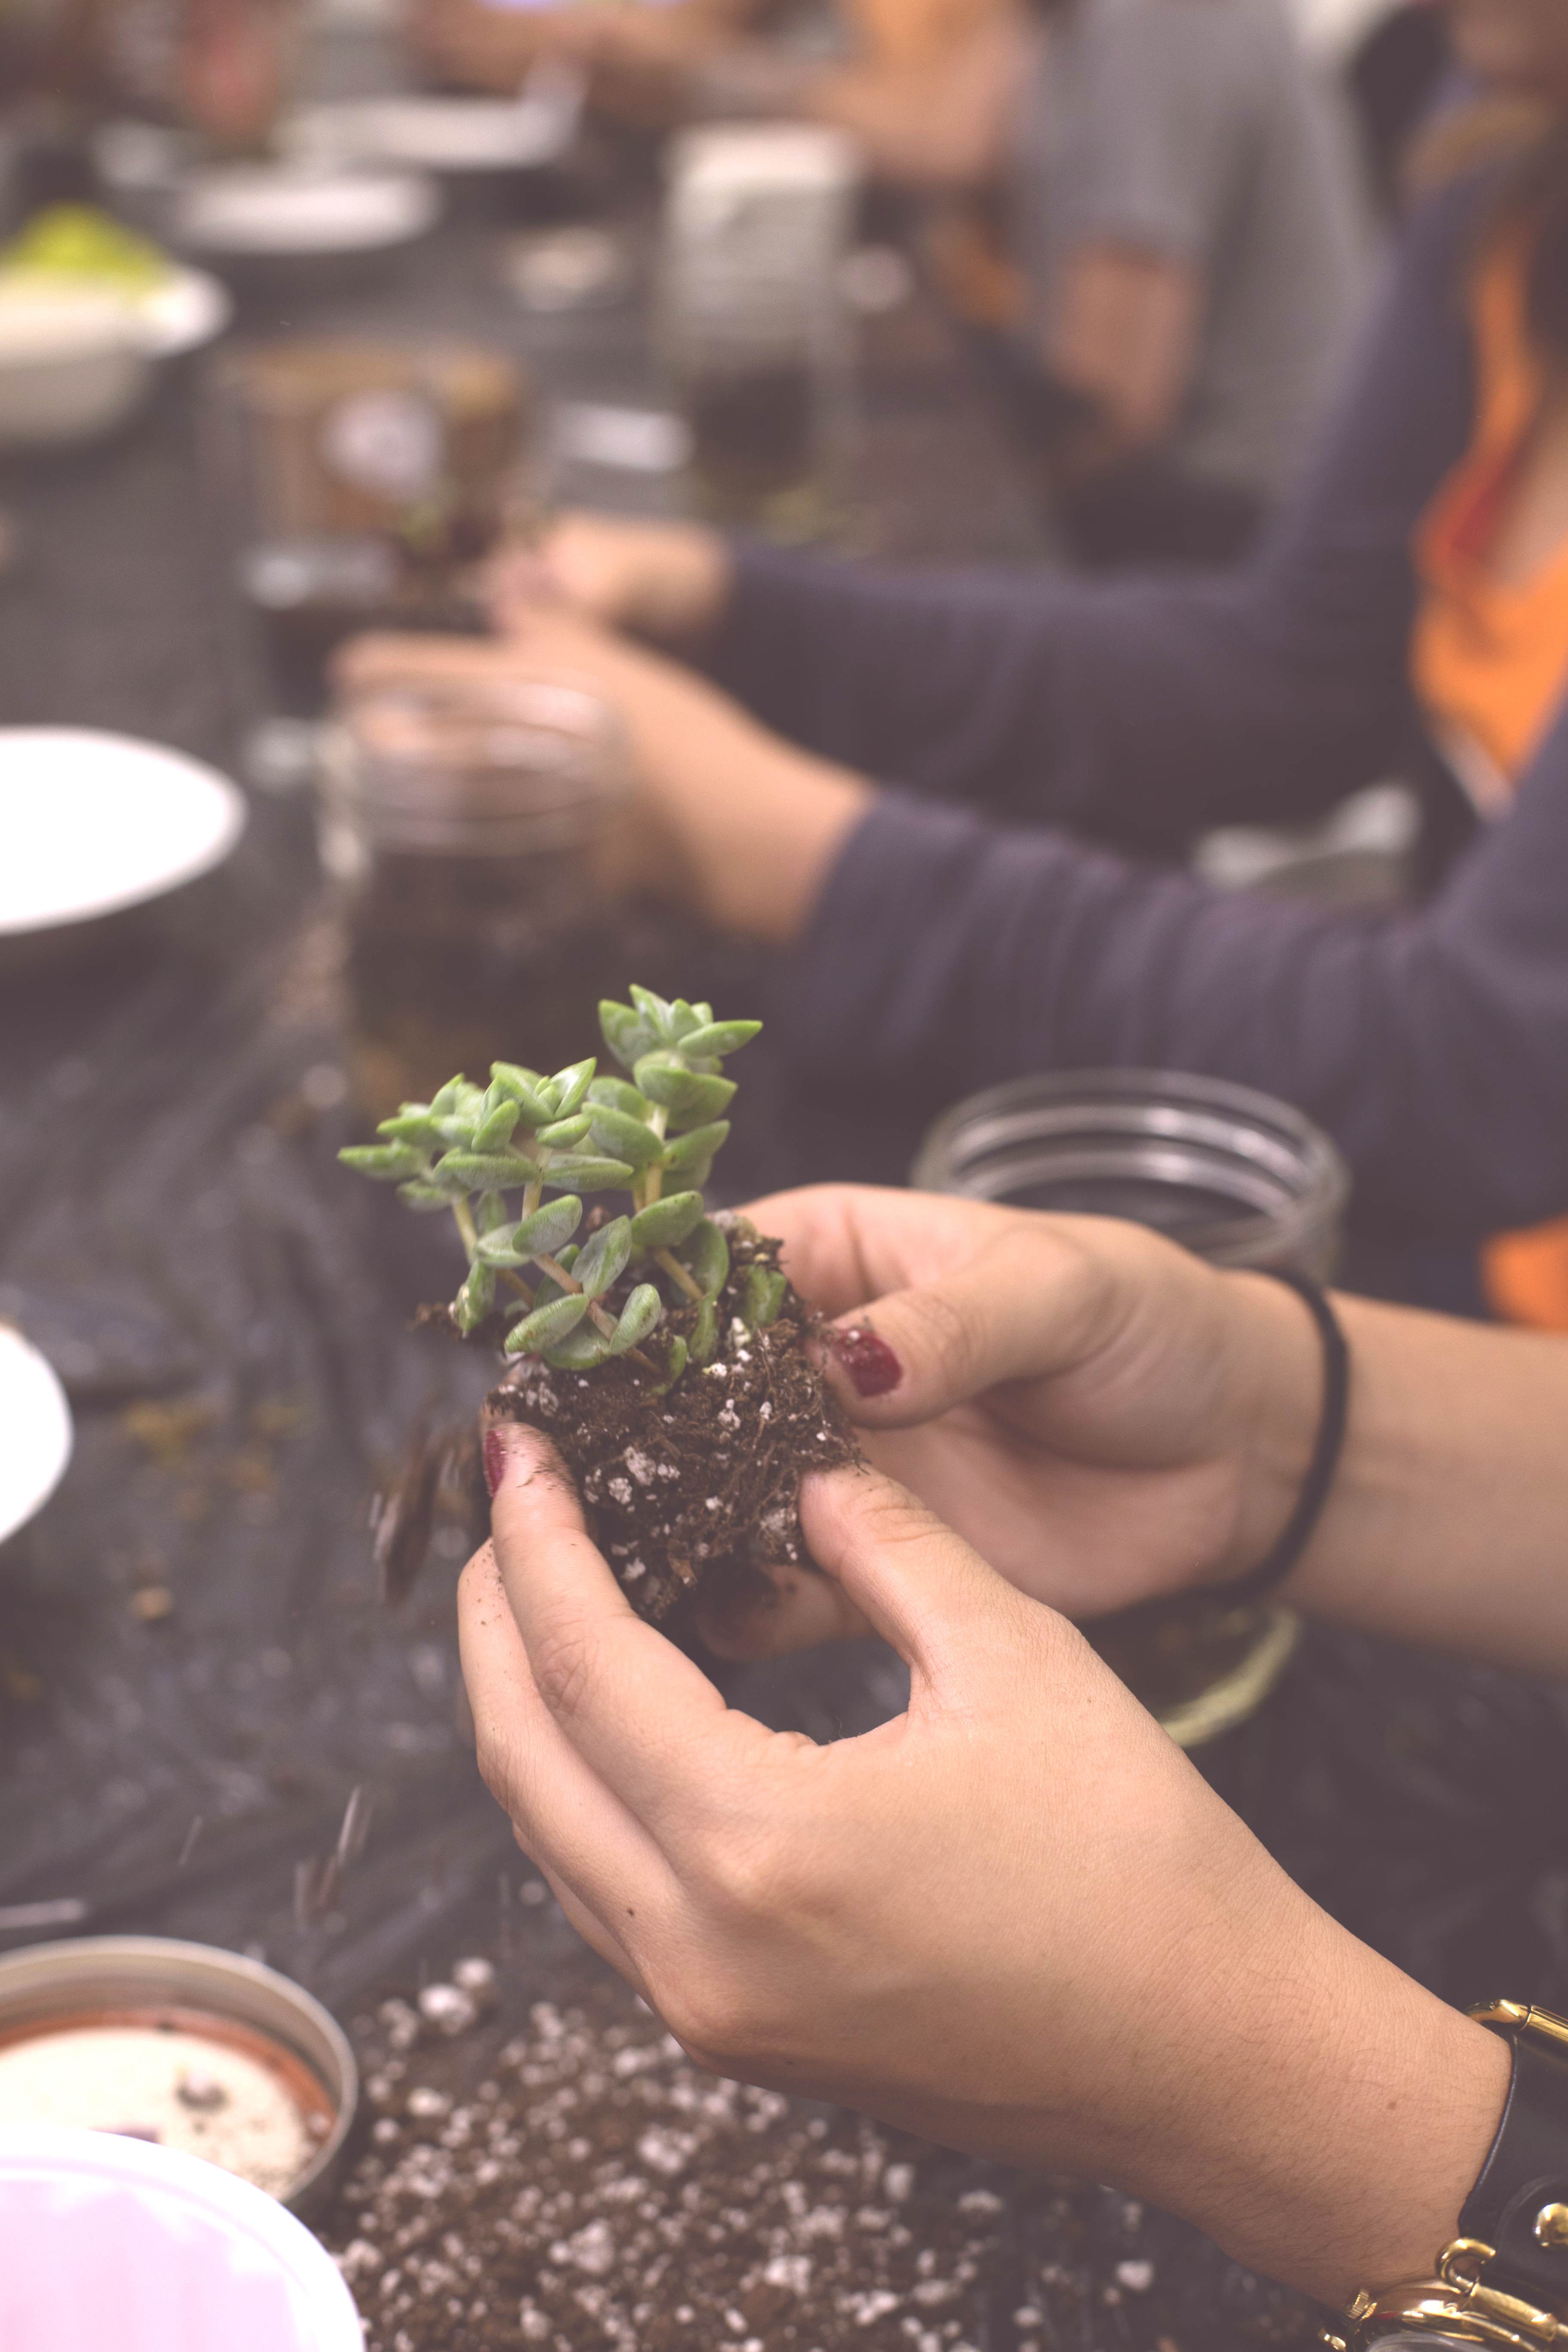
Step 6: Place your succulent in the hole you made, and then cover the exposed roots with the soil. You don't want to put too much soil on top of the roots, just enough to make sure they're covered.
Step 7: Add a thin layer of pebbles to cover the soil.
Step 8: Accent with reindeer moss and accessories.
Care & Maintenance:
The biggest mistake you can make is caring too much. You don't need to worry much about your succulent. It is used to desert-like conditions and doesn't require a lot of water.
Watch the soil. When it starts to turn a light brown color, you can water your terrarium. Otherwise, you'll want to leave it alone.
Keep your terrarium in a cool, dry environment (succulents can get sunburned).
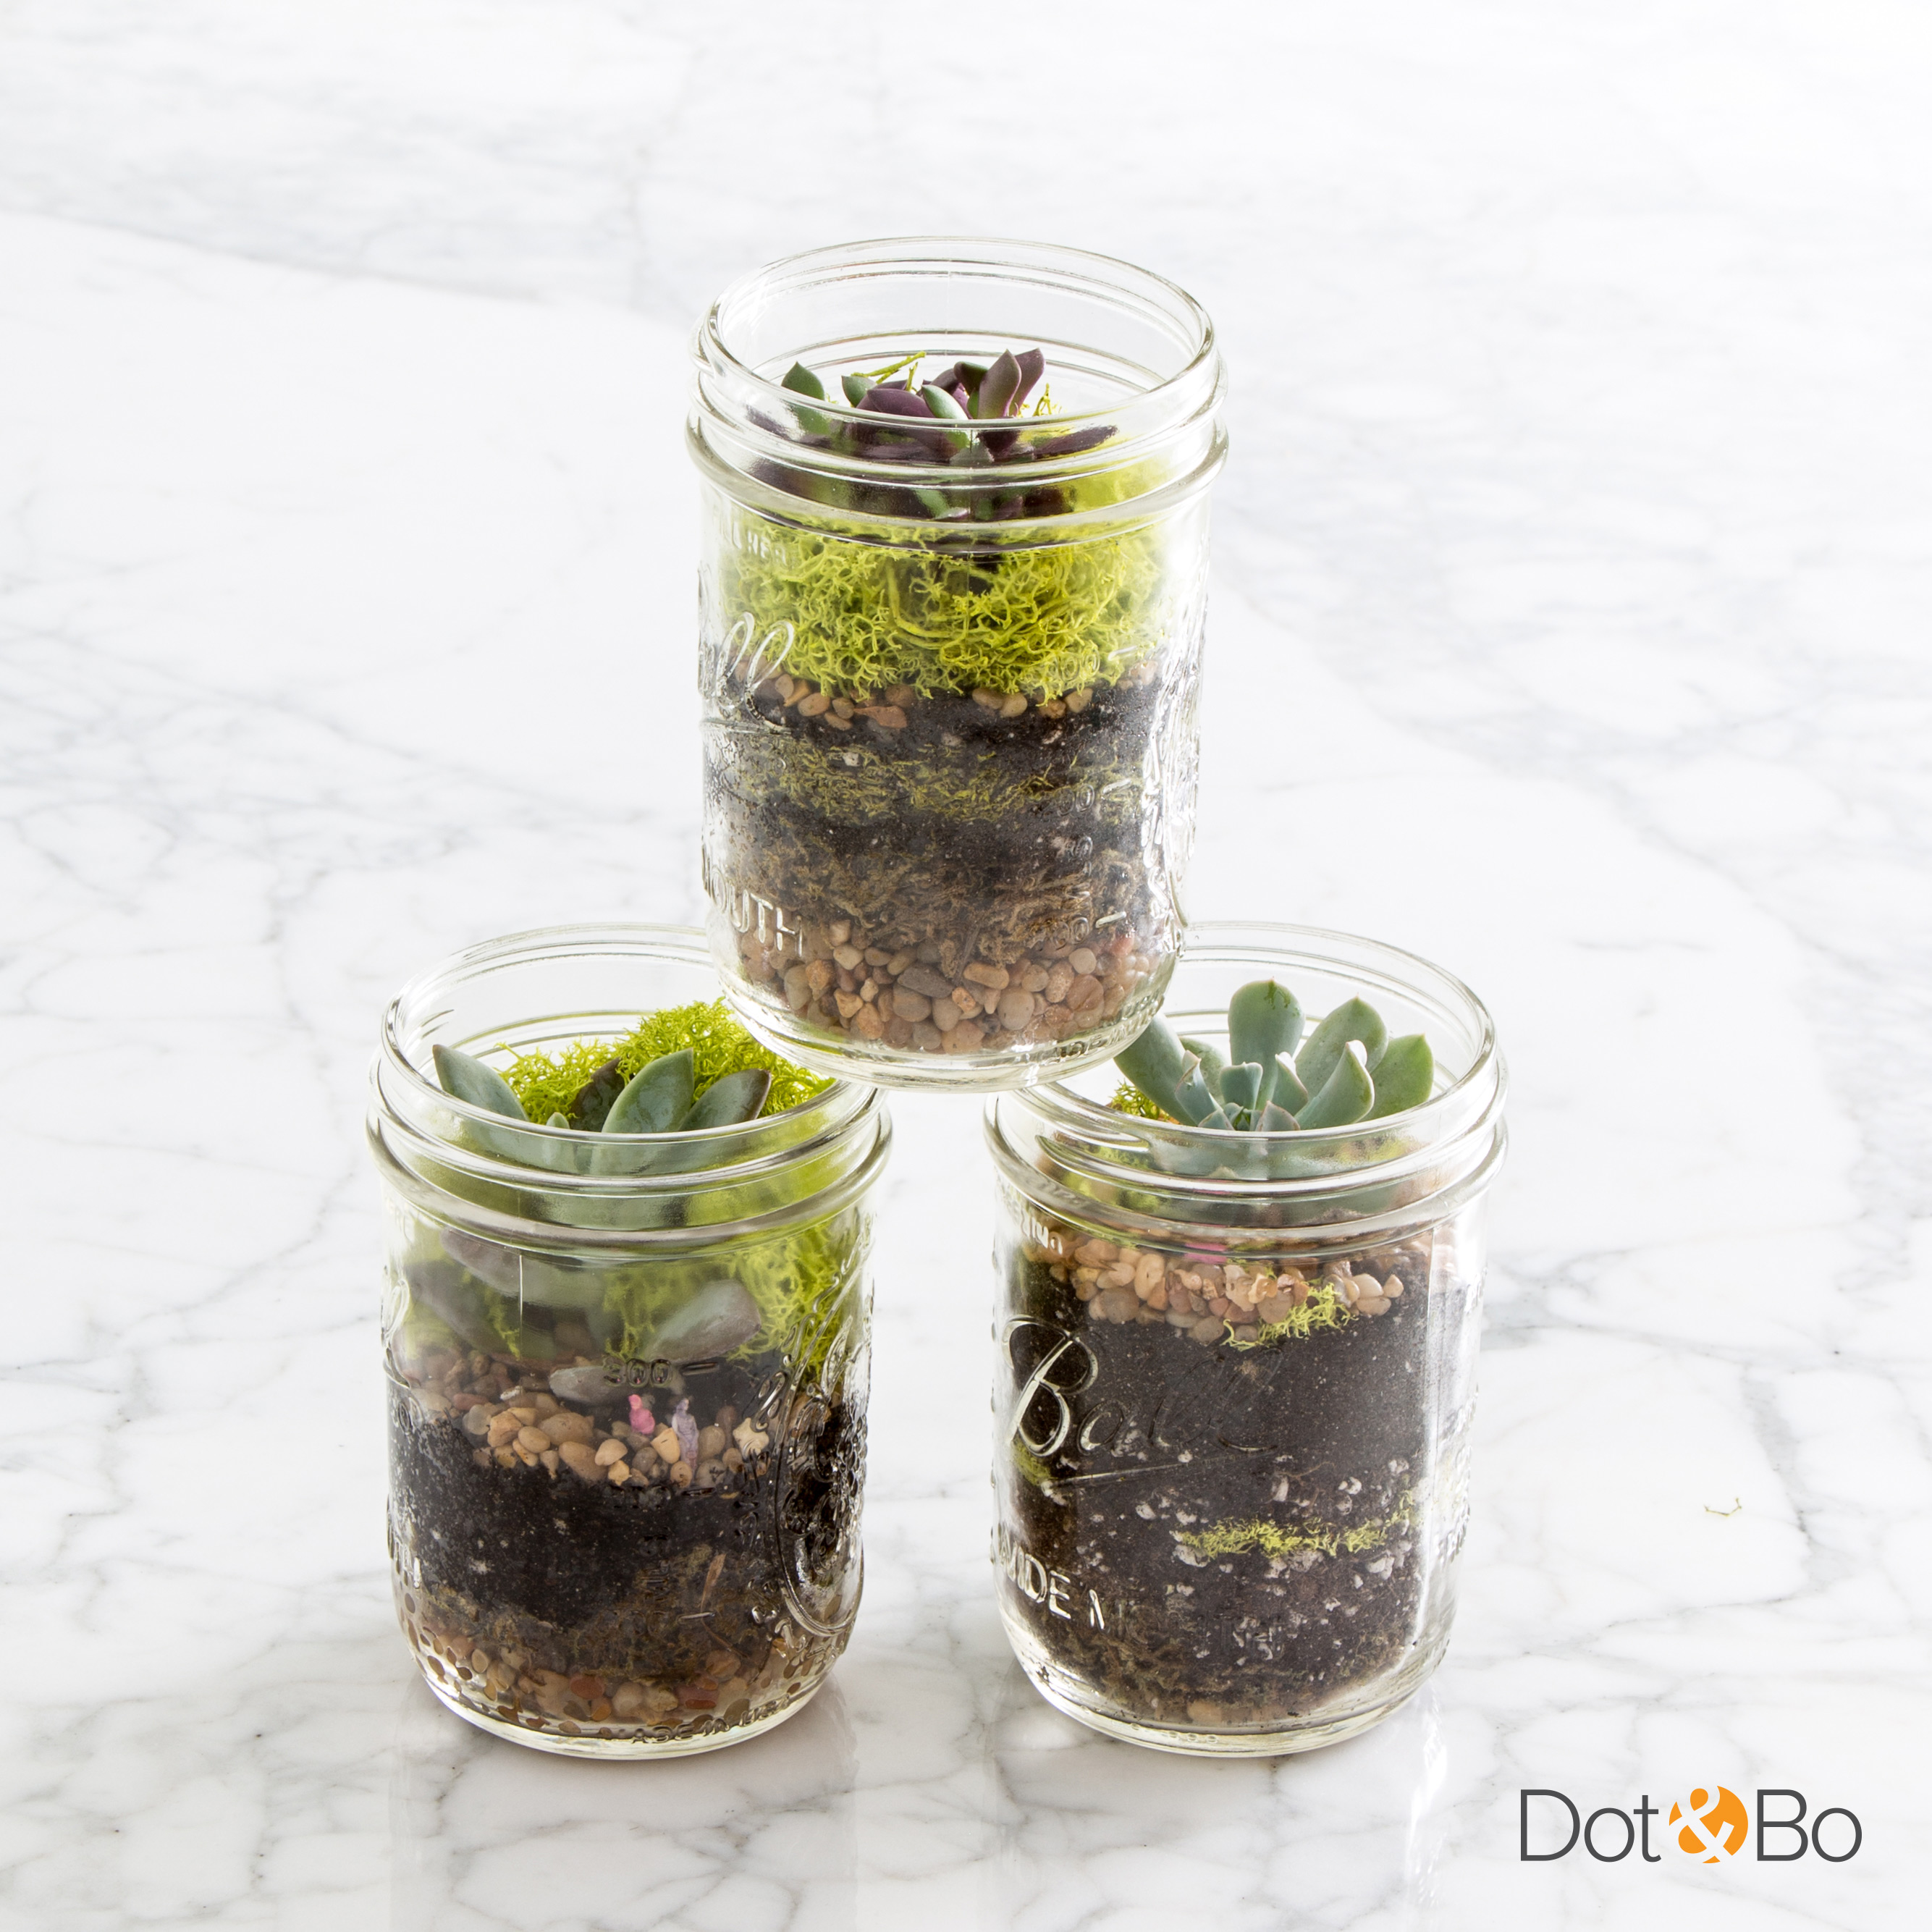
Your turn: Give it a try! Start embracing the urban foraging trend, and bring these succulent terrariums into your home. Then, check out our collection inspired by this nature-focused lifestyle.
Cheat sheet: Want to streamline the process? Don't miss our Tiny Terrarium DIY Kit, Made for One-Gallon Terrarium Kit and Capsule Hanging Terrarium.
All photos courtesy of Dot & Bo.
-- This feed and its contents are the property of The Huffington Post, and use is subject to our terms. It may be used for personal consumption, but may not be distributed on a website.


No comments:
Post a Comment