triocean/Getty Images
Lately, weekly meal prep, work meetings, and kids’ activities have all been taking place inside the same four walls. So you might have caught yourself staring at one of those walls and wondering how you can upgrade its look and improve your view.
Fortunately, there are loads of wall projects out there for DIY-savvy homeowners looking to put a new spin on their decor. And DIY jobs are a smart twofer: You’ll feel accomplished by completing a task with your own two hands, and you’ll save money—and who couldn’t go for that right now?
To help you get started with some wall-themed home improvements, here are seven ways to fix up and beautify your surroundings, including the tools you’ll need and the time it’ll take. What are you waiting for?
1. Patch a wall

Photo by Lauren Shadid Architecture and Interiors
Unsightly holes from your kid’s posters and other random wall hangings need to be addressed pronto.
“Patching drywall to clean up your walls takes just a few minutes,” says Hunter Macfarlane, a Lowe’s project expert. “All you have to do is scrape away loose debris, fill the hole, and then smooth the area once it’s dry.”
Time for project: A few minutes to patch, plus some drying time (up to two hours)
Tools required: Spackle, taping or putty knife, old rag, sandpaper, and, if you plan to repaint the wall, paint supplies (brush, roller, pan)
2. Install a shelf

Photo by Four Brothers Design + Build
Whether you’re embracing the red-hot trend of open shelving or you just need a single slab in the bathroom to hold a few personal items, hanging a shelf is a quick and easy task.
“Hanging shelves is fairly easy because you can do it without the assistance of a second person and it should take just a few minutes per shelf,” says Aimee Bahs, brand manager at Mr. Handyman.
Time for project: Less than 30 minutes
Tools required: Shelf kit (bracket, hardware), power drill, level, pencil
3. Hang a picture

Photo by L. Weatherbee Design Studio
Perk up your walls with a single piece of art, or curate a gallery of photos you already own. Either way, you’ll create a stunning tableau that costs very little except your time.
“Hanging a picture is a rather fast task, but it takes some prep work, especially if you cut out frame sizes from craft paper and tape them to the wall to plan the look,” says Macfarlane.
“Depending on the frame type, the supplies can vary. A single nail or screw usually works for smaller pictures, while heavier artwork requires an anchor screw,” says Bahs.
Time for project: A few minutes per picture, one or two hours for a gallery wall
Tools required: Stud finder, level, claw hammer, nails, hanging wire, D-rings
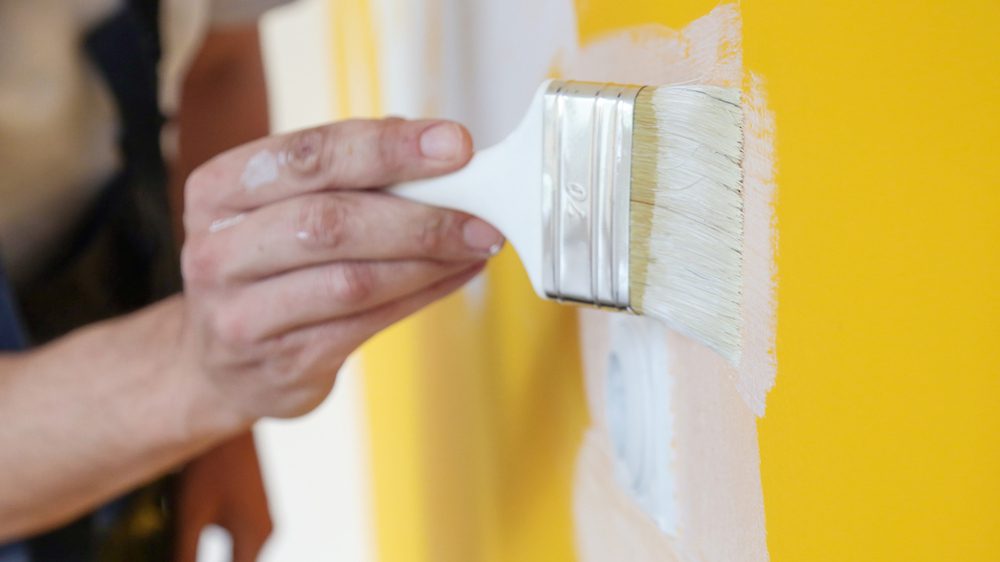
4. Paint an accent wall

Photo by Scott Basile Photography
Painting all your walls is definitely a worthy DIY project, but picking just one to highlight is a fine place to start. An accent wall infuses a space with a shot of much-needed color while adding dimension and, in some cases, highlighting an architectural feature like an archway, exposed brick, wall paneling, or angled ceiling.
Time for project: A full day, plus overnight drying time
Tools required: Plastic dropcloth or old sheet, painter’s tape, buckets for paint, roller, trays, angled brushes
5. Hang wallpaper
![]()
Photo by Martha O’Hara Interiors
Hanging wallpaper may seem like a job for professionals, but it’s actually a DIY project that many homeowners can take on. And it’s made even easier if you use peel-and-stick wallpaper. But for the regular kind, keep in mind that you’ll need a helper. (It’s tough to accomplish solo, says Macfarlane.)
“Preparing to install pre-pasted wallpaper can be the most time-consuming part, but the length of time really depends on the size of your room and whether there are a lot of ‘interruptions’ to the wall (like windows, doors, and outlets), which can slow the process,” notes Rebecca Breslin, design manager for Wayfair Professional.
Time for project: A weekend
Tools required: Dropcloth, ladder, paint scraper, measuring tape, utility knife, scissors, paint roller or brush, smoothing brush, pan, and adhesive paste if your paper isn’t pre-pasted
6. Add crown molding

Photo by Stephen A. Rudnicki Designer LLC
Want to add glamour and elegance to your room’s walls? Decorative molding is your go-to for this DIY project. And even if you don’t know your dentil molding from egg and dart, all you need is a quick stop at a home improvement store for supplies.
“If you have a fairly standard room shape and you have a handle on cutting and installing the pieces, installing crown molding is pretty straightforward,” says Breslin. “Simply follow the line of your ceiling and match the next piece to the previous one.”
Time for project: A day
Tools required: Stud finder, power drill, handsaw, tape measure, level, sandpaper, crown molding pieces, paint or stain to match
7. Repair stucco

Photo by Tate Studio Architects
Don’t forget about your exterior walls, especially cracks in stucco. Fix them up fast, and you’ll enhance your curb appeal. A stucco pro will charge you hundreds of dollars, but you can apply new stucco to flawed patches by yourself for much less.
Time for project: 1 hour per patch
Tools required: Work gloves, eye protection, chisel, hammer, patching compound or premixed stucco, notched trowel, finishing trowel, tool for texture such as a sponge, and ladder if the flaw is out of reach
The post 7 DIY Wall Projects for the Home You Should Know How To Do appeared first on Real Estate News & Insights | realtor.com®.
No comments:
Post a Comment