Wednesday, February 24, 2021

Tuesday, February 23, 2021
‘Home Town’: Ben and Erin Napier Reveal a Common Design Detail They ‘Hate’

HGTV
“Home Town” stars Erin and Ben Napier know that sometimes a little goes a long way. In fact, that’s how they approach the renovation of their latest midcentury build. They want to modernize it, but not too much.
On the Season 5 episode “Closer to Mom,” the Napiers meet Brach and Ashley Robinson. These two live in New Orleans but started shopping for a home in Laurel, MS, so that they’d have a comfortable place to stay when they visit Ashley’s mom.
The pair end up buying a beautiful 1961 home for $165,000. Erin and Ben know this old house needs some work, but they don’t want to update it so much that it loses that great retro vibe. So Erin works hard to find design solutions that will repair and update the house, without changing its midcentury style too much or spending over their $100,000 renovation budget. Here’s how they pull it off, which might inspire some changes around your own abode, too.
Replace orate ironwork with clean paneling

HGTV
When Brach and Ashley first see the house, they’re impressed with the exterior, which is rare. Many of Erin and Ben’s renovation projects include an extensive exterior renovation, but this house has been well-maintained.
Still, Ashley and Brach want to replace one thing: the dated ironwork.

Discovery+
Erin supports this choice, saying the ironwork looks out of place.
“I just hate the overly ornate wrought iron, on a house that is specifically all about straight lines,” Erin says. So the team rips out the ironwork and replaces it with a midcentury-inspired slatted wood wall.
The dark wood looks great on this brick house, bringing in some much needed color contrast.
Add some color to the kitchen

Discovery+
Ashley and Brach want everything, including their kitchen, to be clean and white—but the Napiers know better.
“White is classic,” Erin explains, “but if you have all white, it can fall flat. It feels cold, it feels sterile.”
Erin and Ben decide to paint the old island (and a second new island) light blue to add some color to this kitchen, and to match a new blue backsplash. However, it’s the original brick floor that really adds some warmth to this white kitchen.

Discovery+
The team reseals the brick floors to make the colors more consistent, and when they’re finished, it’s clear that both the blue accents and the old brick give this kitchen some character. They soften the modern white features to make the space feel more homey. It just goes to show that color can be key, and some unexpected flooring could make a kitchen feel extra special.
Know which way to lay wood floors

Discovery+
When Ben goes to install the wood flooring in the den, he realizes that he might run into some trouble depending on the direction he lays the floors.
He thinks this room was an addition, so he suspects the walls may not be perfectly parallel with the fireplace. To avoid any problems with angled floorboards, Ben decides to run the flooring perpendicular to the fireplace.

Discovery+
“If you’re building a house, you can make that fireplace perfectly square, but we’re pretty sure this was a carport at one point that was then converted into a den, so we’re not sure how square that would be,” Ben says.
In the end, it seems the wood was laid in the right direction. Not only do the boards look even, but they also make the room seem longer and larger.
Use wood paneling in the right spots

Discovery+
Wood paneling on walls was a popular midcentury design, so Erin wants to create some paneling in the den—but she wants to make sure this retro feature looks fresh.
“Think of houses in the ’60s and ’70s, they would have that, like, pine paneling. This is like a nod to that but a little different, a little more modern,” Erin says.
They cover the brick on the wall behind the fireplace with wide wood paneling, but leave some exposed brick around the firebox for safety. Then they paint the whole wall white. Meanwhile, they remove the wallpaper from the other walls and give the rest of the room a fresh coat of paint.
While midcentury homes often had wood paneling on all four walls, this one accent wall gives the space the right amount of midcentury charm, while still letting the room look contemporary.
Don’t try to match old brick

HGTV
Erin and Ben had good luck when it came to the brick on the kitchen floor, but they run into problems when they work on the outdoor kitchen. They have a plan to build off of the existing brick oven, but they can’t find an exact color match for the 1960s brick.
“The problem with the brick that we found is we can’t get this exact brick that was used on the house in the ’60s,” Erin explains. “So we just used a modern brick but we stuccoed over all of it.”
With the stucco, this outdoor kitchen has a great two-tone effect that looks modern but still midcentury-inspired. It’s a great outdoor kitchen that Ashley and Brach will love using in the summer.

HGTV
The post ‘Home Town’: Ben and Erin Napier Reveal a Common Design Detail They ‘Hate’ appeared first on Real Estate News & Insights | realtor.com®.
Monday, February 22, 2021
6 Ways To Insulate Your Drafty Windows (When New Ones Aren’t in the Budget)
galitskaya/Getty Images
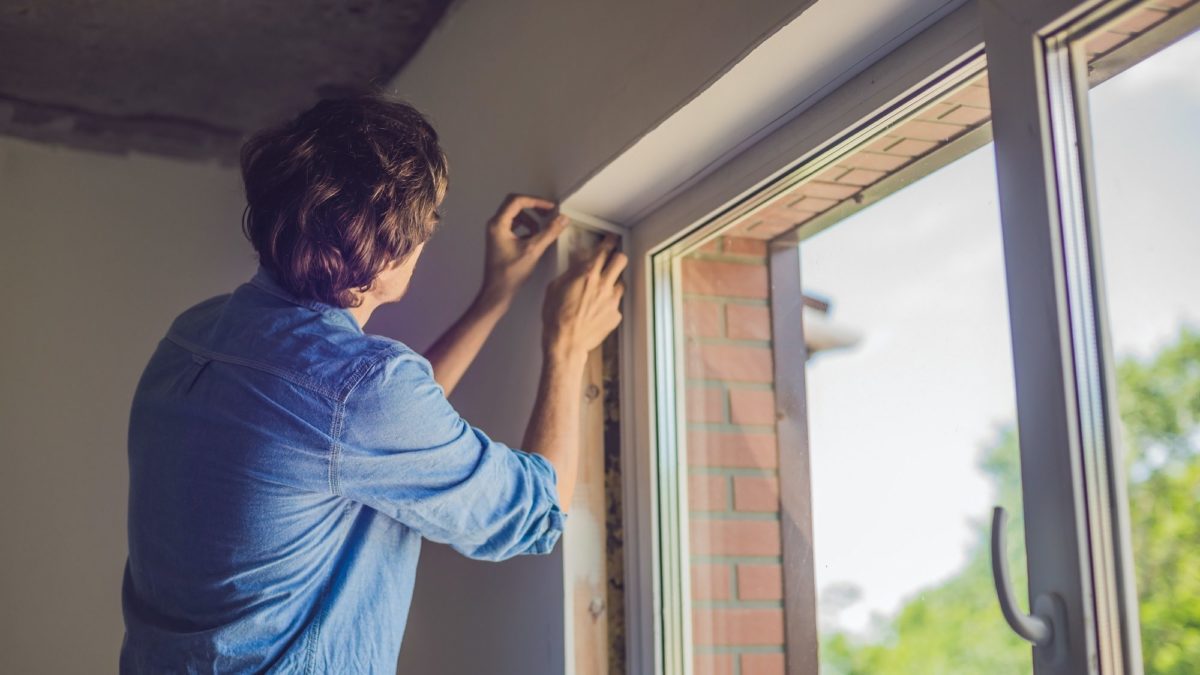
Stop us if this sounds familiar: Your thermostat is hiked up to 74 degrees, you’re covered in blankets, you’ve donned your fuzziest socks—and your house still feels cold.
The likely culprit: Drafty windows. Whether they’re old as dirt or just not energy-efficient, windows that let in cold air not only bring down your home’s temperature but also raise your heating bills because your furnace is working overtime.
First, take your windows’ temperature
Do you even have drafty windows? Before you get industrious by sealing cracks, you’ll want to figure out just how cold it is near the window. If you own one of the infrared thermometers we’ve become so familiar with during the coronavirus pandemic, you might be able to get a decent temperature reading and detect cold air leaking in from old windows.
“What these instruments do is capture what the eye cannot see, and that could be the radiant heat around the object,” says Matt Swann, a general contractor and president at Brawn Construction. “They can also help detect air leaks by measuring the ambient temperature in an area where cold air is leaking in.”
You can also look for visible cracks and gaps around the window frame, or try the old-school trick of shutting your window on a dollar bill. If you can pull the bill out easily, you have drafty windows.
If your bank account is a little lean these days, then replacement windows are probably out of the question. So you have two options: You could keep layering on socks and sweaters, or you could make your windows a lot more energy-efficient by trying these tips from the pros.
1. Caulk carefully
Caulking is good for sealing cracks, gaps, and joints less than a quarter of an inch. On the inside, keep bitter drafts out by caulking between the interior window trim and the wall. You can also apply caulk to the exterior perimeter of the window. Just be sure not to caulk weep holes, the small rectangular holes found on the bottom of the exterior side of the window frame.
“Caulking over weep holes is a big mistake,” warns Kevin Busch, vice president of operations at Mr. Handyman, a Neighborly Company. “Weep holes allow moisture to escape the window frame. Clogged weep holes can’t do their job properly, and your windows can rot, collect mold, or rust.”
Also avoid caulking the moving parts of the window and the ledge above the window frame, Busch says. Click here for complete instructions and tips for applying caulk.
Do note that the caulk aisle is massive. Be sure to read the labels, and buy caulk that is explicitly labeled for windows. Be sure to purchase exterior caulk for around the window outside, and interior caulk for inside. There are also caulks for humid spaces and masonry uses.
2. Weatherstrip for a temporary fix
When it comes to winter home maintenance, weatherstripping is a cheap and effective way to dodge bone-chilling drafts. Unlike caulk, which lasts around five years, weatherstripping is easy to apply and remove. It comes in a variety of materials and thicknesses and is used on doors, too. Foam weatherstripping is good for the top and bottom of window sashes, and tension seal (or V strip) is ideal for the side of sliding and double-hung windows.
The trick is to seal the gap without layering it on too thick. Apply weatherstripping to the sash and frame. Make sure you can still open and close the windows with the weatherstripping in place. Find more information on choosing the right weatherstripping and instructions here.
3. Seal your windows with plastic
Maybe the idea of covering your window with shrink-to-fit plastic wrap seems a bit tacky, but when done correctly, it provides an airtight seal and is virtually invisible. Not only does it help your house feel warmer, but it also reduces moisture buildup on the window due to condensation.
It’s an easy DIY project, especially if you have a partner to help with larger windows. In a nutshell, you’re securing the shrink plastic by placing an adhesive strip around the perimeter of the window, on the window frame. This stops air leaks that may be sneaking through. Once the plastic is in place, use a hairdryer to shrink and tighten the seal for a snug fit.
Be sure to measure your windows before heading to the store because the kits come in many sizes. Click here to learn more on how to do this, but follow the manufacturer’s specific directions on the box kit.
4. Hang thermal drapes
Thermal drapes are more stylish today than the drab ones our parents had, and, according to the EPA, pulling thermal drapes over your windows can reduce heat loss by around 25%.
If you still feel chilly, install a cornice at the top of the drapes. Then to better block those bitter drafts, make sure the drapes overlap in the center. Then use Velcro or magnetic tape to attach the sides of the drapes to the wall and bottom. An interior decorator may not approve, but it’s a good option especially for windows that don’t let in warm sunshine during the day.
5. Install cellular shades
You can reduce heat loss by as much as 40% when you install cellular shades (also known as honeycomb shades), according to the EPA. They can be pricey but, according to Swann, they’re considered one of the best ways to insulate your windows.
“They significantly reduce the temperature that transfers between the window and the room by creating a barrier through its hexagonal pocket shapes,” says Swann.
The price ranges from $30 to $200 depending on the size of your window and if you want a more deluxe version. If you’re fighting COVID-19 cabin fever or just want to connect with the outside world, you might want to spring for the top-down, bottom-up variety.
6. Install storm window inserts
Storm window inserts are clear inserts that look just like a traditional window but are installed inside the window jamb, and over older, single-pane windows to reduce heat loss. They’re light and easy to install and require no nails or screws. Just snap them in place, and your rooms will feel significantly warmer in the winter. Once the weather warms up, pop them back out and store.
Depending on the size, they run about $200 per window. That’s still a good alternative if new energy-efficient windows aren’t in the budget. Look for Energy Star–certified (low-e) inserts, and you could save $350 on your annual heating bill, the EPA says.
The post 6 Ways To Insulate Your Drafty Windows (When New Ones Aren’t in the Budget) appeared first on Real Estate News & Insights | realtor.com®.